
A slip-on exhaust is one of the best upgrades you can make to a sportbike. It changes the sound, reduces weight, and improves the overall look of your motorcycle without needing a full system replacement. Riders love it because the installation is simple and the results are immediate.
In this guide, I’ll show you how to install a slip-on exhaust at home using basic tools and clear steps.
What is a Slip-On Exhaust?
A slip-on exhaust replaces only the muffler part of your system. You don’t remove the headers or catalytic converter. You simply attach the new exhaust canister onto the existing mid-pipe. Because of this, installation is easier and faster compared to a full exhaust system.
Benefits include:
- Better sound
- Cleaner looks
- Reduced weight
- Affordable performance upgrade
You get noticeable improvement without complicated mechanical work.
Tools You Need
| Tool | Use |
|---|---|
| Socket set | To open and tighten bolts |
| Screwdriver | To remove clamps |
| Pliers or spring puller | To handle exhaust springs |
| Gloves | To protect your hands |
Make sure the bike is cool before you start working.
Step-by-Step Installation
1. Place the Motorcycle on a Stable Stand

-Stability matters. Place your sportbike on a rear paddock stand to keep it level and safe during the install. This allows you to work comfortably and prevents the bike from tipping.
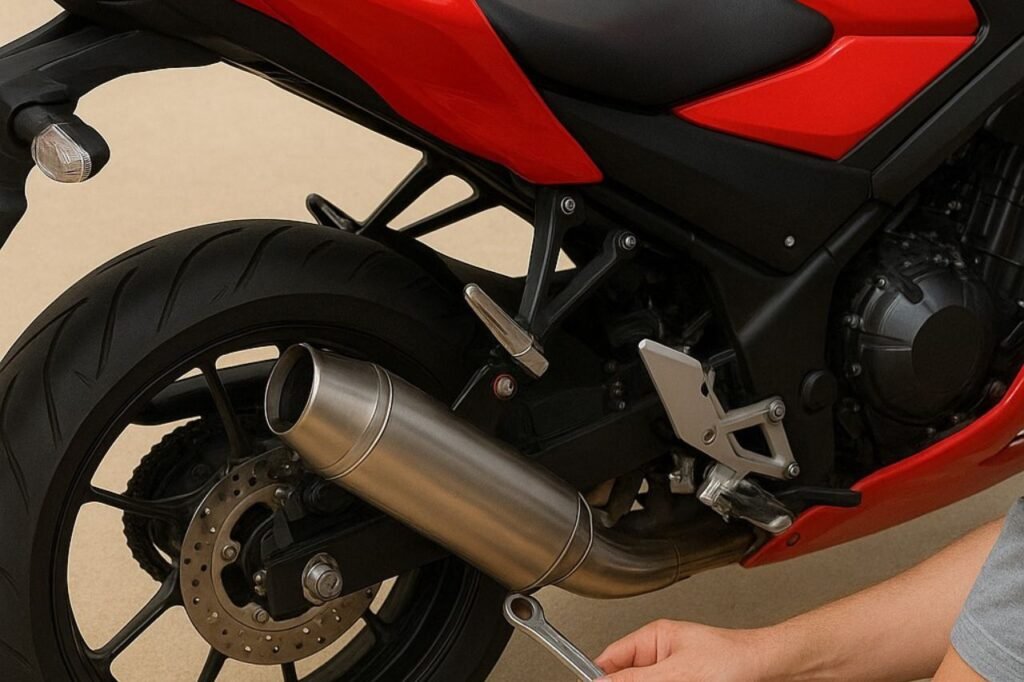
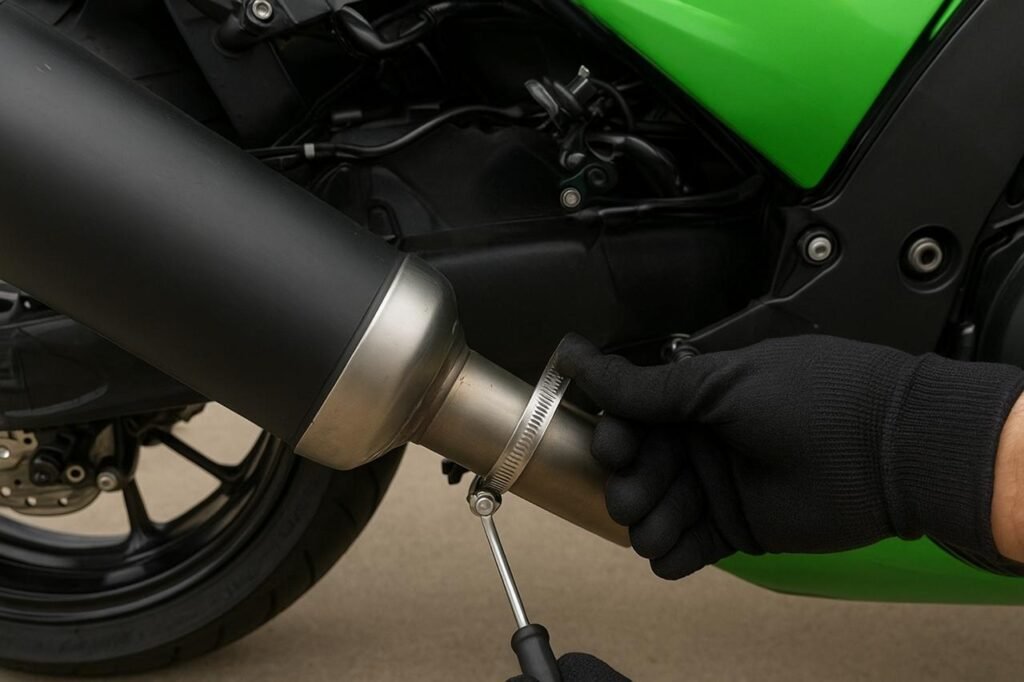
2. Locate and Loosen the Exhaust Clamp
-Find the clamp connecting your stock exhaust to the mid-pipe. Loosen it using the appropriate tool. Do not remove the clamp yet—you only want to release tension.
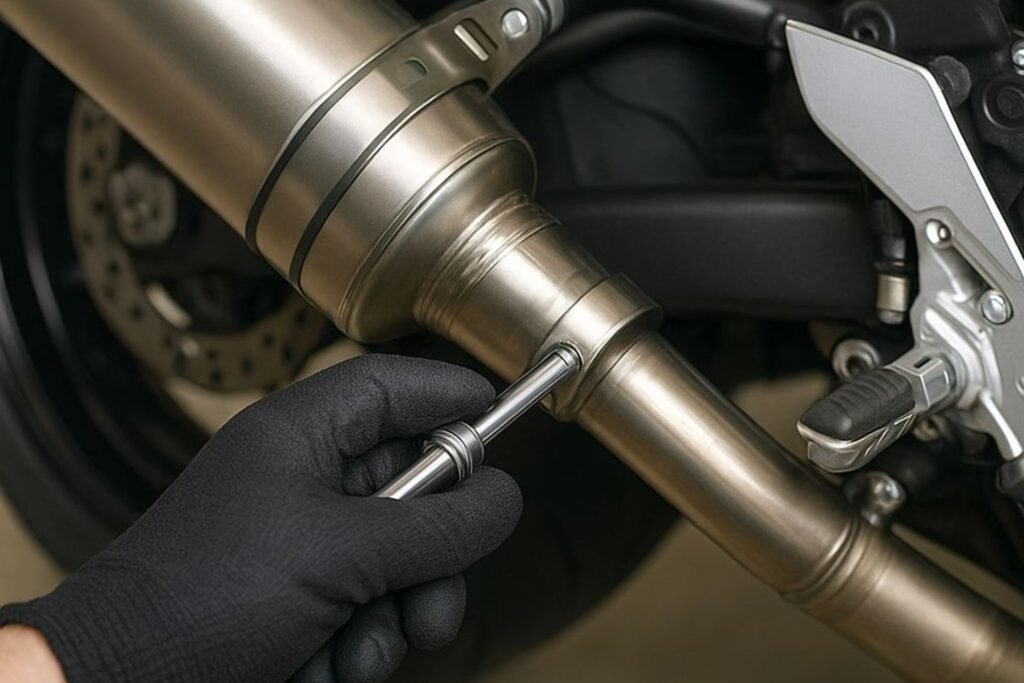
3. Remove the Stock Exhaust
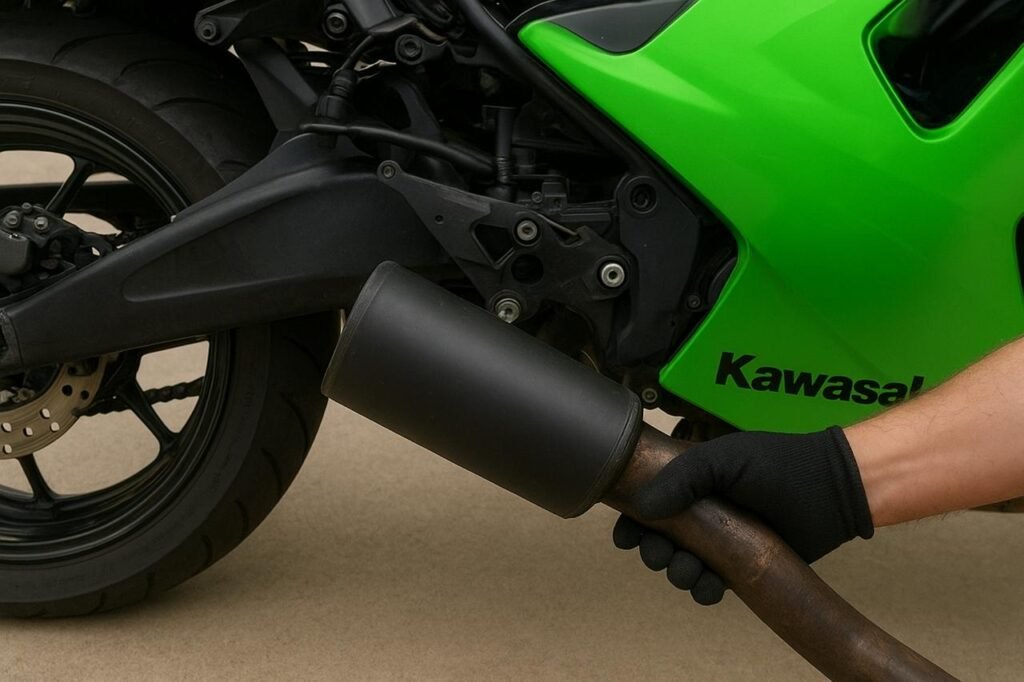
-Remove the mounting bolt that holds the factory muffler. Then slide and pull the exhaust out carefully. A gentle wiggle helps. Do not force anything to avoid damage.
4. Fit the New Slip-On Exhaust
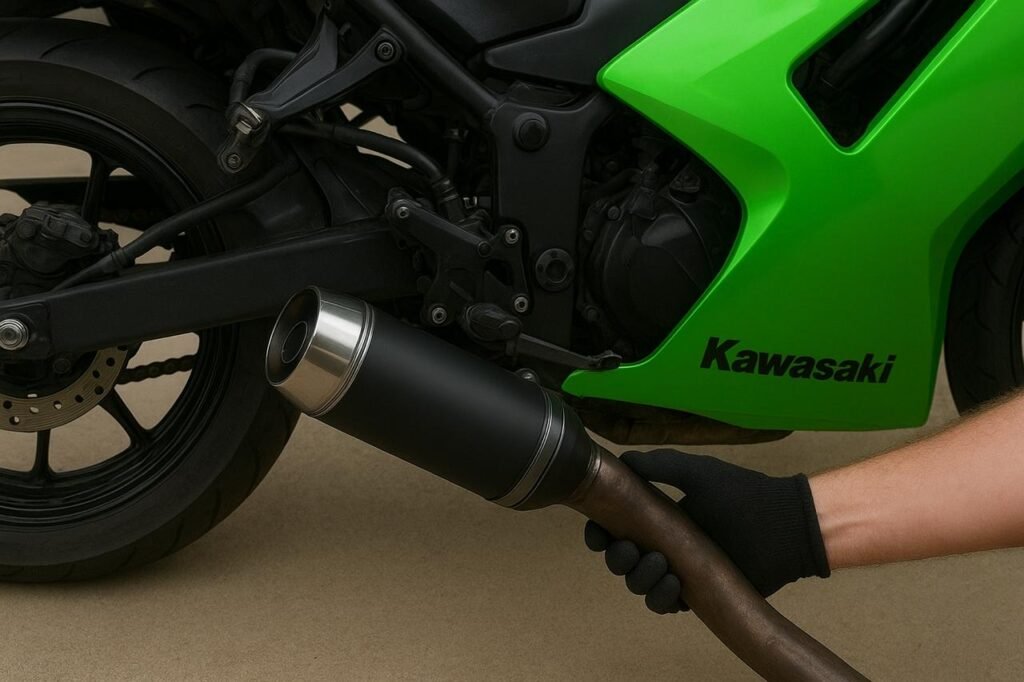
-Slide the slip-on exhaust into place. Make sure it aligns with the mounting bracket. Hand-tighten the bracket bolt first so you can adjust the angle before locking it in.
5. Tighten Everything Securely
Once the position looks correct:
- Tighten the clamp
- Tighten the mounting bolt
- Attach the springs if provided
The slip-on exhaust should feel firm with no movement.
6. Start the Bike and Check the Sound

Start the engine and let it idle for a moment. Listen carefully for any leaks or rattling sounds. If everything runs smoothly and sounds clean, the installation is complete. You’ll instantly notice the improved exhaust tone and deeper sound from your bike.
Do You Need ECU Tuning?
For most motorcycles, a slip-on exhaust does not require ECU tuning. However, if you later remove the catalytic converter or upgrade to a full exhaust system, tuning becomes recommended.
Final Thoughts
Installing a slip-on exhaust at home is a simple, budget-friendly, and satisfying upgrade for any rider. In just 30 to 60 minutes, you can transform your motorcycle’s sound, style, and overall performance. This small change makes a big difference, giving your bike a deeper tone, a sportier look, and a more exciting riding feel. Whether you own a Kawasaki ZX-14, Yamaha R1, or Honda CBR, adding a slip-on exhaust instantly brings your machine to life and makes every ride more enjoyable.
Pingback: The Science Behind Exhaust Flow and Performance Tuning