
The Highway Spine Is Real — And It’s Not Your Fault
You know the feeling. Around mile 100, a dull ache starts creeping up from your tailbone. By mile 150, your lower back is on fire. You pull into a gas station, peel yourself off the saddle, and stand there doing that awkward stretch that every long-distance rider knows by heart.
That’s highway spine. And the maddening part? Your bike probably felt fine on a short test ride at the dealer.
Here’s the problem: motorcycle manufacturers design stock suspension for a mythical “average” rider. That rider weighs around 165 pounds, rides solo with no luggage, stays off rough pavement, and never pushes past 200 miles in a day. They don’t exist. You do. And your body is paying for that compromise.
The good news is this is a fixable problem. Suspension technology has come a long way, and you don’t need a factory race team budget to ride in genuine comfort. But you do need to understand what’s actually going on under your fenders before you throw money at parts. That’s where looking at the best motorcycle suspension upgrades for comfort starts — with a little knowledge before you open your wallet.

Understanding the Basics Before Spending Money
Before we talk parts, let’s talk physics. Four terms control how your bike rides: sag, preload, rebound damping, and compression damping. They sound technical, but they’re not hard to grasp.
Sag is how much your suspension compresses just from your weight sitting on the bike. Too little sag, and the bike feels harsh and skips over bumps. Too much, and it wallows, handles poorly, and bottoms out on dips. Correct sag (typically 25–33mm front, 30–40mm rear) is the foundation everything else sits on.
Preload is the initial tension on your spring. It doesn’t change the spring rate — a common misconception — it just sets the starting position. Think of it as raising or lowering the ride height, not stiffening or softening the spring itself.
Compression damping controls how fast the suspension moves inward when you hit a bump. Rebound damping controls how fast it extends back out. Too little rebound and the bike bounces like a pogo stick. Too much and the suspension “packs down” on successive bumps, getting progressively stiffer until it’s nearly solid.
If you’re wondering how to make motorcycle suspension softer, start here — with free factory adjustments. Reduce preload to lower your sag. Back off compression damping clicks. Open up the rebound a touch. These cost nothing and can transform a bike.
But there’s a hard limit to what clickers can do. They tune damping; they can’t change the spring rate. And if your spring is wrong for your weight — which it almost certainly is if you’re outside that mythical 165-pound average — no amount of adjustment will fix the fundamental mismatch. That’s when you need parts — and when exploring the best motorcycle suspension upgrades for comfort becomes the only logical next step.
Front Suspension: Dropping In Plushness
Most bikes below the premium touring class come with damper rod forks. They’re cheap to manufacture and adequate for normal riding, but they have a fundamental flaw: damping force is determined by hole size and oil viscosity. That works reasonably well at slow, predictable inputs. Hit a sharp pothole at highway speed or smack a bridge expansion joint? The fork goes hydraulically rigid for a split second. That spike goes straight through your wrists and into your shoulders.
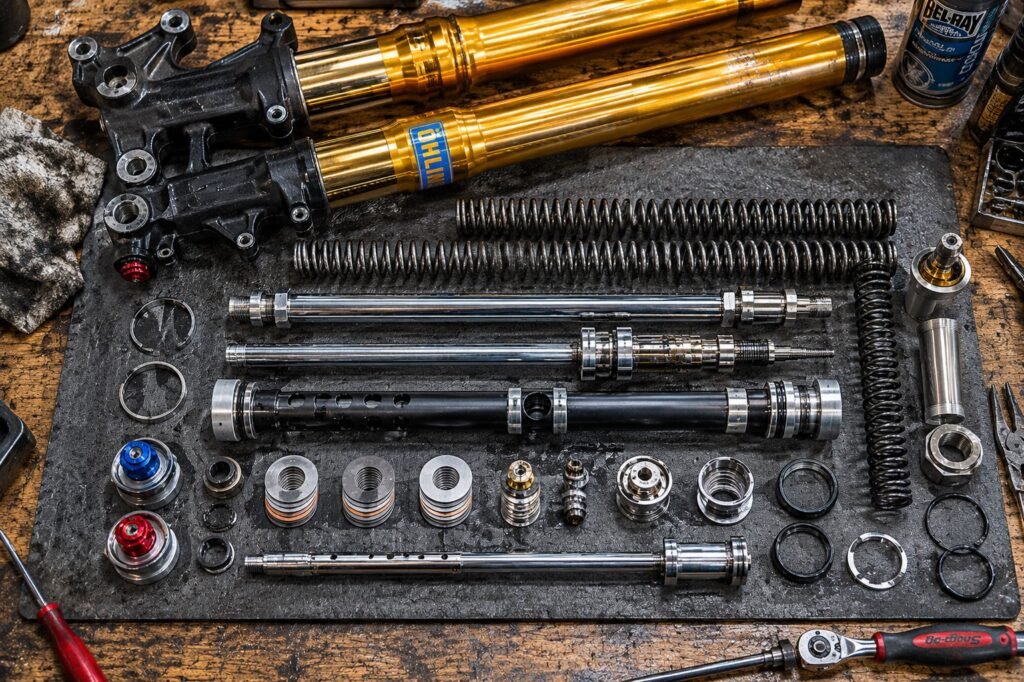
The fix is a cartridge emulator or a drop-in cartridge kit. Cartridge emulators (like those from Race Tech) drop into your existing damper rods and add a shim-based valve that responds to input speed, not just volume. They’re the budget upgrade — typically $150–$250 — and the improvement is immediately obvious.
Step up to a full drop-in cartridge kit — brands like Öhlins NIX, Andreani Misano, or WP Apex — and you’re getting what premium bikes ship with from the factory. These kits replace the internals entirely with independent compression and rebound circuits. Each circuit uses a stack of thin metal shims that flex under load, controlling oil flow with much finer resolution than a fixed hole ever could.
What does that mean on the road? The fork can be supple for small, rapid inputs — road texture, paint strips, minor cracks — while simultaneously resisting bottoming on that same pothole. It’s not magic. It’s physics. Two separate circuits, two separate jobs, doing them simultaneously instead of fighting each other.
Installation typically requires a fork seal service anyway, so labor costs often overlap. Budget $400–$800 for parts on most bikes, and you’ll likely never touch the front suspension again. Cartridge kits are genuinely a once-and-done upgrade.
The Spring Debate: Progressive vs. Linear
Springs are where a lot of riders get confused, partly because the marketing language around them is muddier than a gravel road after rain. Let’s cut through it.
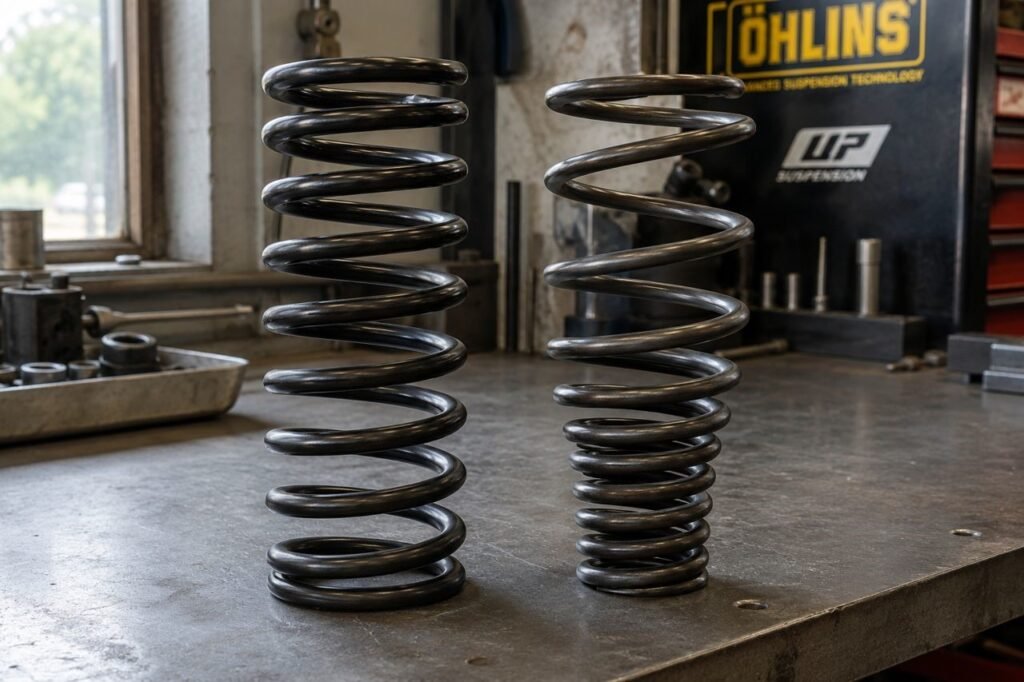
A linear spring has a consistent spring rate across its entire travel. Push it 10mm and it takes X pounds of force. Push it another 10mm, it takes another X pounds. Predictable, consistent, excellent for track use where inputs are controlled and the rider wants to feel exactly what the suspension is doing.
A progressive spring changes rate through its travel. The first portion of travel is relatively soft. As the spring compresses further, the rate increases. The practical effect is a comfortable initial stroke that firms up progressively under heavier loads.
For touring and comfort riding, progressive springs are almost always the right call. Here’s why: road surfaces don’t present inputs in clean, predictable packages. You get a ripple, then a dip, then a sharp ridge, then a pothole — all in half a second. A linear spring that’s correctly rated for the big hit will feel harsh on the small ones. Rate it soft enough to absorb the chatter and it bottoms on the dip.
This is the heart of the progressive vs linear springs for touring comfort debate, and the data favors progressive for real-world use. Progressive springs absorb small road chatter in the soft initial zone, then ramp up stiffness to handle larger inputs — all without changing any settings.
| Criteria | Linear Springs | Progressive Springs |
|---|---|---|
| Ideal Riding Conditions | Smooth roads, track use, controlled inputs | Mixed roads, touring, commuting, varied surfaces |
| Small Bump Absorption | Moderate — rate is fixed throughout travel | Excellent — soft initial zone soaks up chatter |
| Bottoming Resistance | Depends entirely on chosen rate | Strong — rate increases progressively under load |
| Rider Weight Flexibility | Narrow — needs specific rate per rider weight | Broader — accommodates wider weight range per spring |
If you’re a solo rider on smooth roads, a correctly-rated linear spring is fine. If you’re two-up with luggage on imperfect highways, progressive wins every time.
Rear Shocks: Saving Your Lower Back
Let’s talk about where highway spine actually originates. The rear shock. More specifically, the cheap emulsion-type shock that comes on most production motorcycles.
Emulsion shocks mix the hydraulic oil and pressurized nitrogen directly in the same chamber. Under normal use, that’s manageable. Under sustained load — like an eight-hour riding day — the oil aerates. Tiny nitrogen bubbles get trapped in the oil, and your damping consistency goes out the window. The shock gets progressively spongier as the day goes on. You compensate by tensing your lower back muscles without even realizing it. By sunset, you’re wrecked.
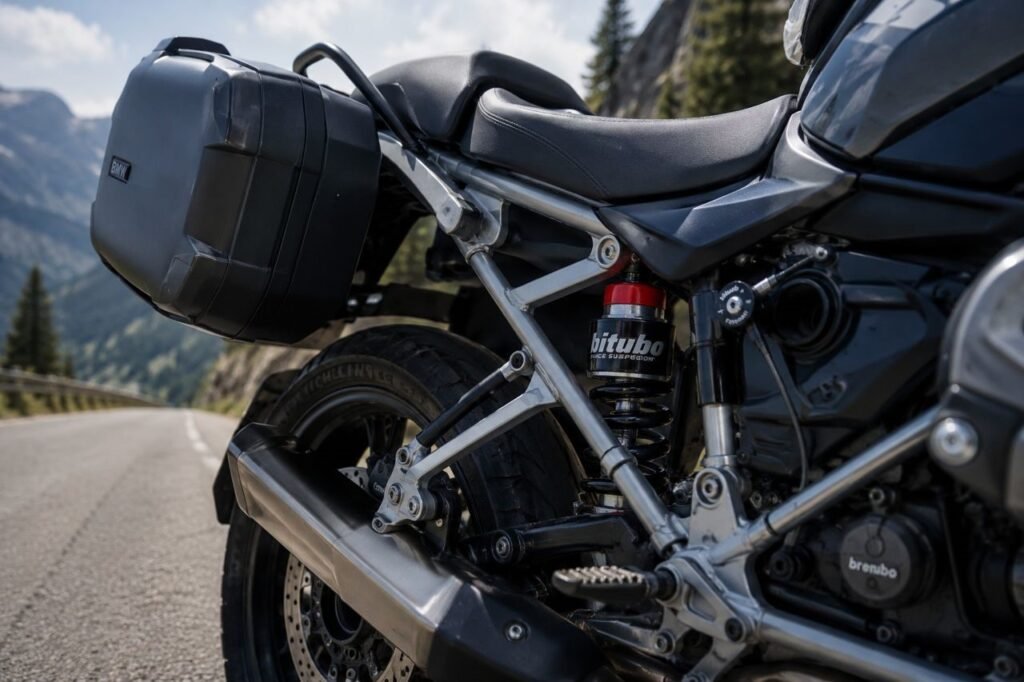
This is exactly why riders search for the best aftermarket motorcycle shocks for lower back pain. The answer is a monotube gas-charged shock. In a monotube design, a floating piston separates the oil and nitrogen completely. The oil stays oil. Damping characteristics remain consistent from mile one to mile five hundred. Brands worth serious attention include Wilbers (German engineering, exceptional build quality), Bitubo (Italian, excellent value-to-performance ratio), and TracTive (Austrian, best-in-class adjustability).
Prices range from around $350 on the value end to over $1,000 for fully adjustable units with remote reservoirs. For most touring riders, a mid-range monotube with high-speed and low-speed compression adjustment is the sweet spot.
Motorcycle Adjustable Shocks for Heavy Riders
One feature that deserves special attention is the remote preload adjuster. If you’re a heavier rider, or if you regularly ride two-up or with a fully loaded top box and panniers, this single feature changes everything.
Remote preload adjusters mount a small knob on the shock body or on a separate reservoir that you can reach without tools while sitting on or standing next to the bike. Going from solo to two-up with a passenger? Three clicks clockwise at a gas stop and your sag is corrected. Adding 40 pounds of camping gear? Adjust. Loading up for a week-long tour? Adjust.
Motorcycle adjustable shocks for heavy riders — specifically those in the 200-plus-pound range or those who regularly carry passengers — should treat a remote preload adjuster as a non-negotiable feature, not a luxury. A shock set up for a 175-pound solo rider that then carries a 300-pound combined load without adjustment will bottom out repeatedly, which defeats every comfort benefit of the upgrade.
Heavier riders should also specify their actual weight when ordering from brands like Wilbers or Bitubo — both offer custom spring rates at no additional cost. That’s a level of personalization no factory shock ever comes close to offering.
The Cutting Edge: Automatic Comfort
The best motorcycle suspension upgrades for comfort used to require physically getting off the bike and turning a wrench. Then they required tools. Then just a clicker. Now, increasingly, they require nothing at all.
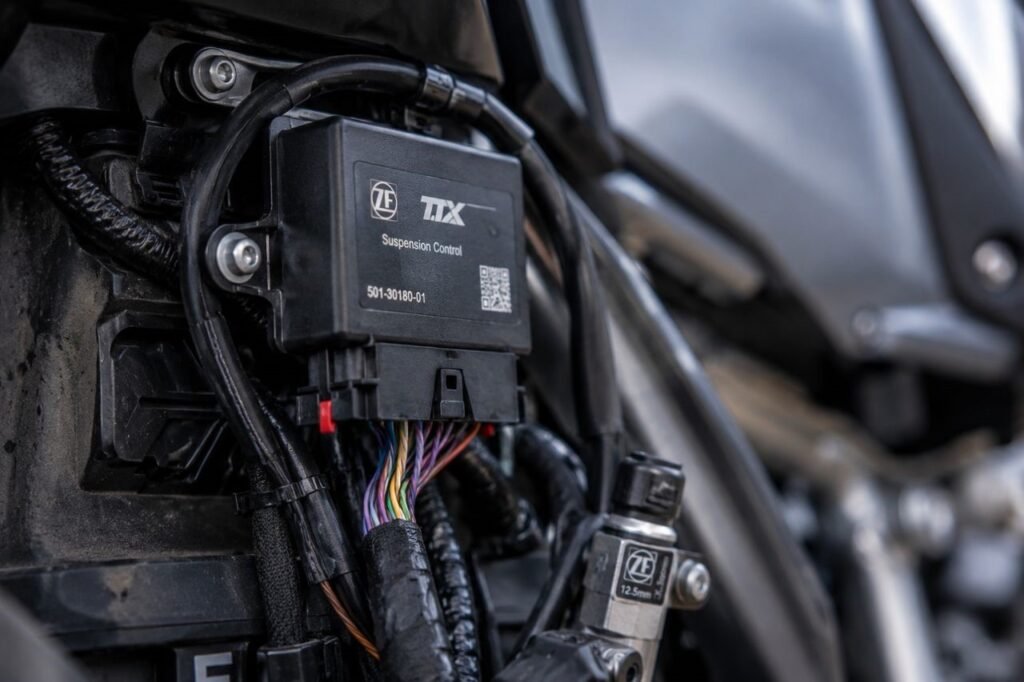
Plug and play electronic suspension upgrades represent the fastest-growing segment of the aftermarket. Systems like TracTive DDA (Displacement-sensitive Damping Adjustment) and semi-active retrofit kits from companies like Öhlins Smart EC mount sensors that continuously monitor wheel travel, chassis attitude, throttle position, and braking input.
The microprocessor adjusts damping valves in under 10 milliseconds — faster than any human can consciously react, and many times faster than the suspension event itself. When the system detects an incoming compression event, it’s already softening the valve. When it detects a rebound event on rough terrain, it’s firming up to prevent packing. The system is making thousands of micro-adjustments per hour that you simply never notice because they happen before you can feel the input.
Retrofit kits are available for many popular touring bikes — including various BMW GS platforms, Honda Africa Twin, and Kawasaki models — with installation taking a few hours and no permanent modifications to the frame. For riders who want maximum comfort with zero management overhead, this technology is now genuinely accessible at under $2,000 for many applications.
Your Action Plan
Ready to actually fix the problem? Here’s where to start.
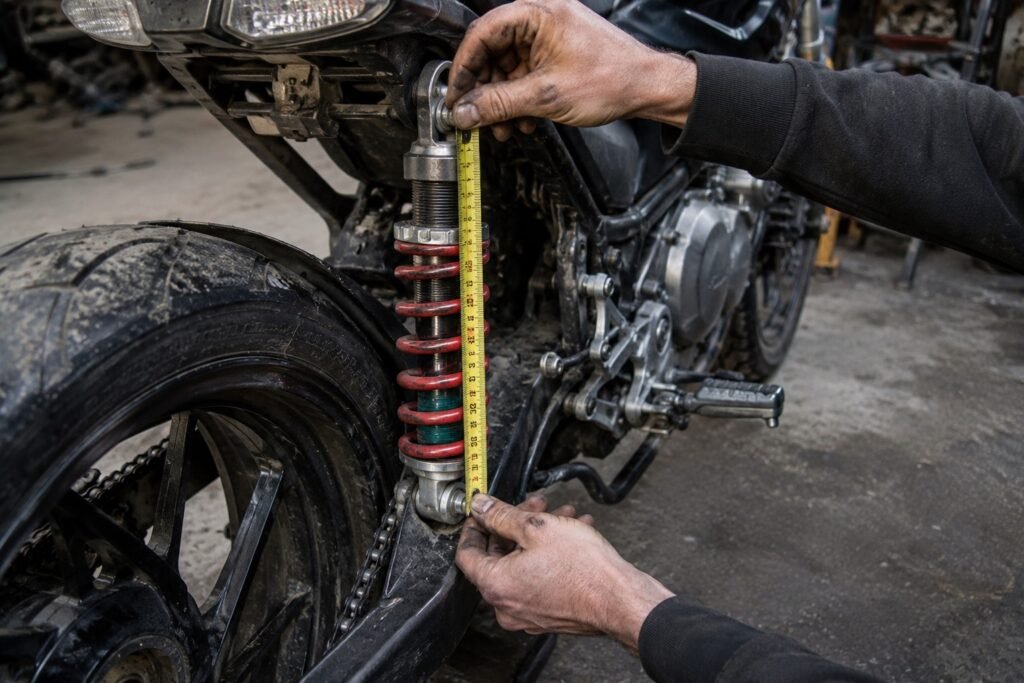
First, check your sag with a friend and a tape measure. It takes 15 minutes and costs nothing. Fix sag before spending a cent on parts. Second, if your bike has clickers, spend a session experimenting — softer compression, more rebound, note the feel. Third, if you’re outside the 150–185-pound range solo, correct springs are your highest-priority purchase. Fourth, add a quality monotube rear shock for damping consistency over long days. Fifth, consider a front cartridge upgrade if wrist fatigue is part of your complaint.
The best motorcycle suspension upgrades for comfort aren’t always the most expensive ones. They’re the ones chosen in the right order, for the right reasons, for your actual body and your actual riding. Start with the rear shock — it’s the single biggest contributor to lower back fatigue — and work forward from there.
Ride far. Arrive intact.
Final Thoughts
Suspension upgrades don’t get the same glory as a new exhaust or a fresh paint scheme. Nobody at a bike meet is going to crouch down and admire your monotube rear shock. But after a 400-mile day where you roll off the throttle feeling loose and relaxed instead of broken, you’ll know exactly where the money went.
The riders who suffer most are the ones who assume discomfort is just part of the deal. It isn’t. Stock suspension is a starting point built around compromises — yours is the body that has to live with those compromises mile after mile. A properly set up bike doesn’t just feel better. It’s safer, because you’re not fatigued, not bracing against every imperfection, not burning mental energy managing pain instead of watching the road.
Spend the time to understand your sag first. Get the springs right for your weight. Then work through the damping. Do it in that order, invest in the best motorcycle suspension upgrades for comfort that match your weight and riding style, and you’ll spend money once — on the right things — and wonder why you waited.
Frequently Asked Questions
Can I just change my fork oil to make my ride softer?
Yes and no. Thinner fork oil (lower viscosity, such as going from a 15wt to a 10wt) will reduce damping, which can make the ride feel more compliant on small bumps. It’s a cheap experiment — typically under $30 including a seal inspection — and worth trying before spending money on hardware. The catch is that oil viscosity alone doesn’t change spring rate, and it also affects both compression and rebound simultaneously. You can’t tune them independently just by changing oil weight. If your springs are too stiff for your weight, thinner oil helps but doesn’t solve the core problem. Think of it as a worthwhile first step, not a complete solution.
How do I know if my rear shock is blown or just stiff?
The clearest sign of a blown shock is a wet or oily residue on the shock body or shaft — that’s seal failure, and the shock is done. But shocks can also fail “dry,” where the internal valving wears out without obvious leaking. The test: push down hard on the rear of the bike and release. A healthy shock rebounds smoothly and stops in one motion. A worn shock bounces once, maybe twice.
Another sign is that the bike feels dramatically better on smooth roads but punishing on rough ones — that inconsistency is classic damping fade from an emulsion shock that’s been heat-cycled too many times. If your shock is more than 30,000 miles old and was never serviced, assume it’s working at a fraction of its original capacity. At that point, replacing it with one of the best motorcycle suspension upgrades for comfort isn’t an indulgence — it’s basic maintenance.
Is it better to upgrade the front or rear suspension first for comfort?
For comfort specifically — as opposed to handling or track performance — the rear shock almost always gives more return on investment as a first upgrade. Lower back pain, fatigue, and the “pounded into submission” feeling after a long day trace back primarily to rear suspension performance. The rear also carries more of a heavily-loaded bike’s weight and is more severely compromised by the damping fade issues common in stock emulsion shocks. That said, if wrist pain and hand numbness are your primary complaints, a front cartridge kit or emulator should move up the priority list. Listen to where your body is hurting — it’s a reliable diagnostic tool.
Will upgrading my suspension change my bike’s seat height?
It can, depending on what you change. Swapping springs alone, with the same free length, changes nothing. A rear shock with a different eye-to-eye measurement (the length between the mounting points) will raise or lower the rear end. Some riders intentionally spec a shorter shock to lower seat height — this is common for shorter riders who struggle to flat-foot. Going the other direction, a taller shock raises ground clearance and cornering lean angle.
Most quality aftermarket shocks are available in the stock length for a given application, so if height is a concern, confirm the eye-to-eye measurement matches the OEM spec before ordering. This is worth knowing before you shop — the best motorcycle suspension upgrades for comfort should ever come at the cost of a ride height that no longer works for your body. Front fork ride height can also be adjusted independently by changing how far the tubes sit through the triple clamp, without touching the internals at all.