
Introduction: Why Your Motorcycle Isn’t Just a Dirty Car
Knowing how to wash a motorcycle properly is one of those skills the manual never really covers. Your owner’s booklet will tell you to clean it — it won’t tell you that spraying cold water onto a hot aluminum engine block can cause micro-fractures, that the wrong soap will strip your wax protection and desiccate every rubber seal on the bike, or that using your car’s wash mitt is essentially sanding your tank with fine-grit abrasive. A motorcycle is not a car. It’s an exposed mechanical system.
Cars keep their drivetrain, wiring looms, and suspension components wrapped inside steel shells. Motorcycles wear everything externally — bearings, seals, electronics, brake calipers, chains, and carburettors sit openly in the elements. Consequently, what feels like routine cleaning can accelerate corrosion, displace critical lubricants, and introduce contamination into spaces no factory grease was designed to withstand.
This guide is built for riders who understand that how to wash a motorcycle is a mechanical process as much as an aesthetic one. We cover the chemistry of cleaners, the physics of surface abrasion, and a step-by-step protocol that keeps your machine looking showroom-fresh without prematurely aging a single component.

The Two-Bucket System & Contamination Science
Swirl marks — those fine, concentric scratches visible in direct sunlight — are not caused by washing. They are caused by washing incorrectly. The physics are straightforward: road grit, brake dust, and sand particles adhere to a wash mitt. When you dip that contaminated mitt back into your wash bucket and drag it across the paint, you are dragging abrasive particles across a clear coat that, on most modern motorcycles, is only 50–80 microns thick. Do that a hundred times and the swirl pattern becomes permanent.
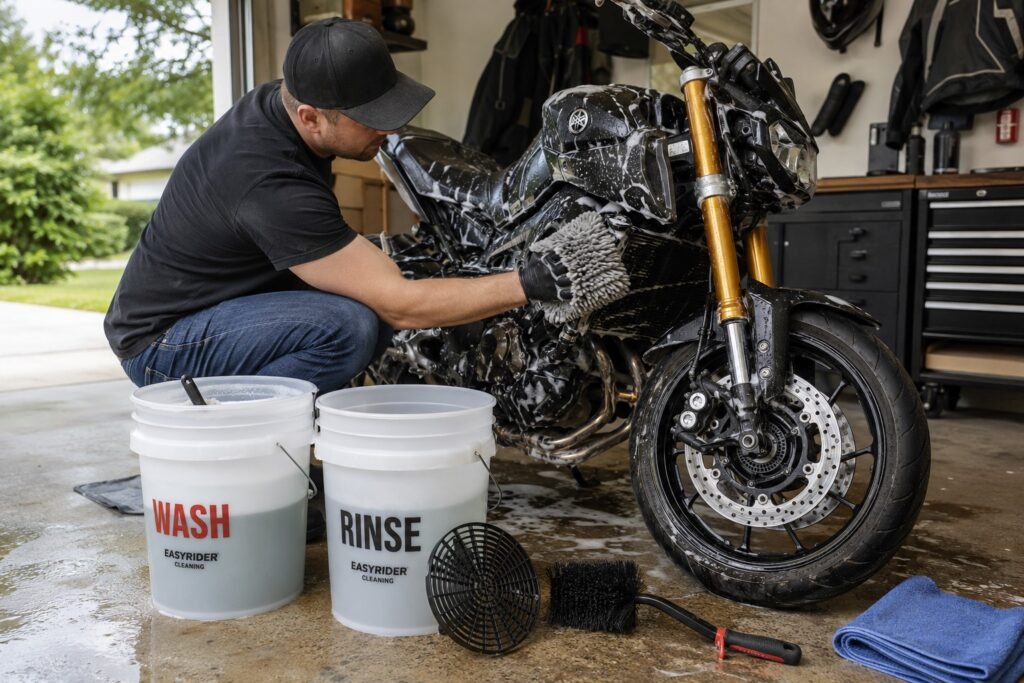
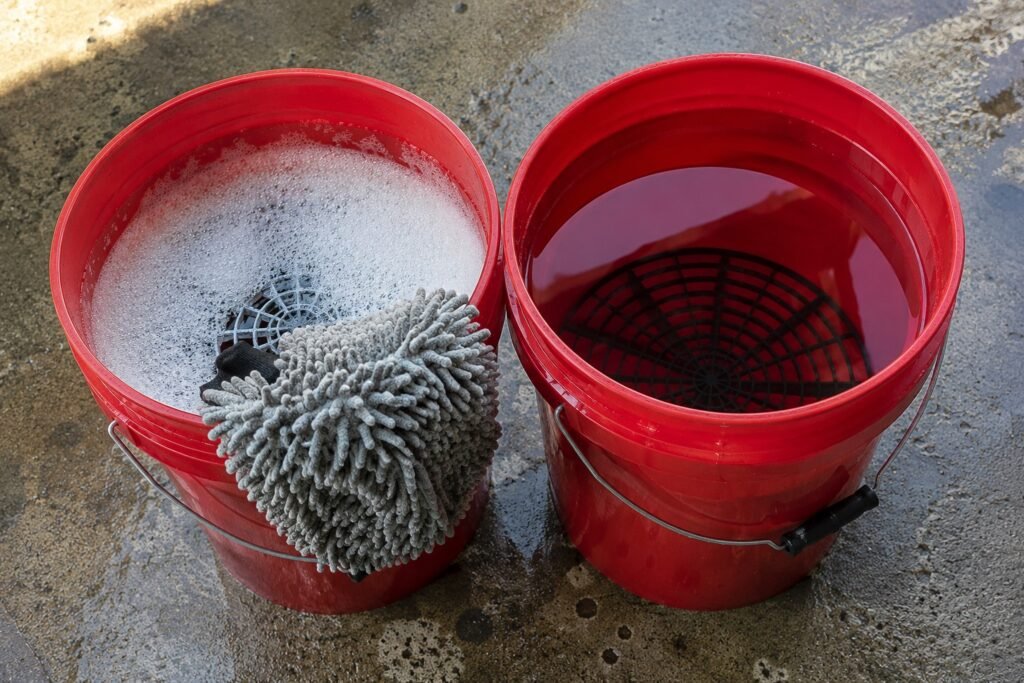
The Two-Bucket Method eliminates this. Bucket one holds your shampoo solution. Bucket two holds clean rinse water. After each panel wipe, you rinse the mitt in bucket two, agitate to release trapped particles, then reload from bucket one. Both buckets should contain grit guards — plastic grids that sit at the base and trap particulate below the waterline, preventing re-suspension. It sounds laborious. It takes 20 seconds per pass.
Crucially, the chemistry of what goes into bucket one matters enormously. A dedicated motorcycle wash solution is pH-neutral (6.5–7.5), formulated with surfactant molecules that encapsulate dirt without attacking rubber, anodized aluminum, or existing wax protection. Household dish soap, by contrast, runs between pH 7 and 9 — it works through alkaline saponification, which efficiently destroys wax and accelerates the drying of rubber gaskets and O-rings. Automotive shampoos occupy a middle ground.
Product Chemistry Comparison:
| Factor | Motorcycle Wash (pH-neutral) | Household Dish Soap | Automotive Wash |
|---|---|---|---|
| pH Level | 6.5 – 7.5 | 7.0 – 9.0 | 6.5 – 8.5 |
| Wax Stripping Risk | Low | Very High | Moderate |
| Effect on Rubber Seals | Neutral / Safe | Drying / Degrading | Mild Risk |
| Effect on Anodized Aluminum | Safe | Can oxidize finish | Generally safe |
| Overall Recommendation | ✅ Ideal | ❌ Avoid | ⚠️ Acceptable |
Pre-Wash Gear & Buying Guide: Best Motorcycle Cleaning Kit for Beginners
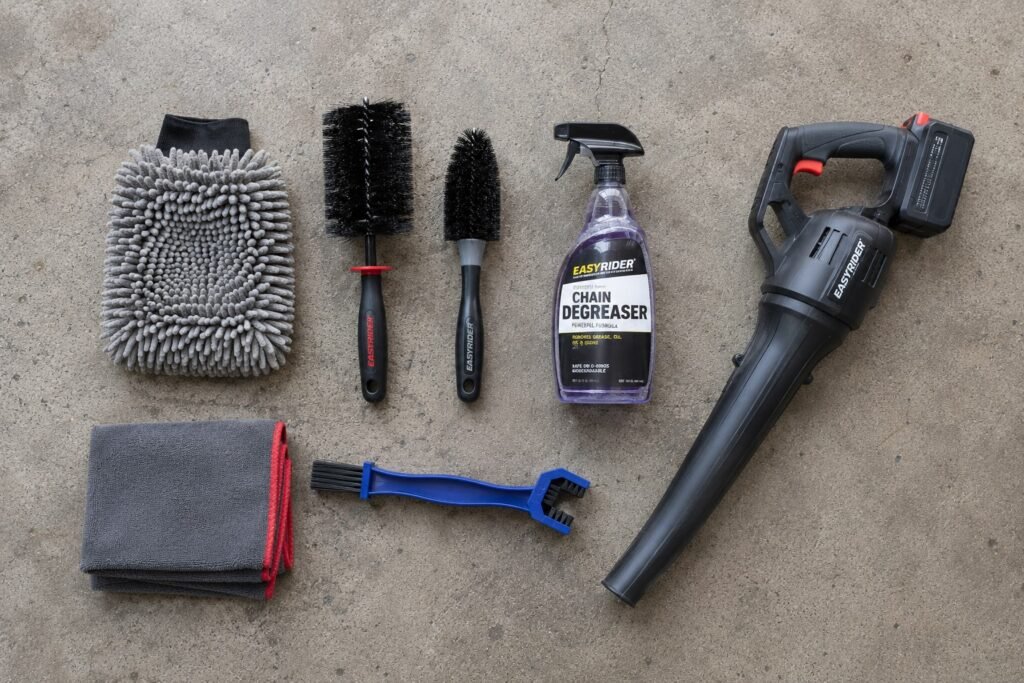
Assembling the right tools before you start is half the discipline. The best motorcycle cleaning kit for beginners doesn’t need to be expensive — it needs to be purpose-specific. Here’s what matters and why.
Microfiber Wash Mitts — Chenille vs. Flat
Chenille mitts have long, finger-like strands that trap dirt particles deep within the pile, away from the paint surface. Flat microfiber is more aggressive and better suited for panels where you need friction — engine casings, frame rails. For painted bodywork, chenille is the correct choice. Never use a sponge: sponges have no pile depth, so grit sits directly at the contact surface.
Wheel Brushes — Soft Nylon vs. Stiff Bristle
For cast alloy, a soft-bristle wheel brush with a flexible handle reaches behind brake rotors and into rim lips. Stiff bristle brushes are appropriate for spoke tension areas and tyre sidewalls. Never use a stiff brush on polished alloy — the finish scratches at a friction level well below what feels damaging.
Dedicated Chain Degreasers & Brushes
Chain degreasers must be O-ring and X-ring safe. A three-sided brush allows you to clean top, bottom, and side plates simultaneously. Avoid kerosene and generic degreasers: they penetrate O-ring seals and flush the grease from inside sealed link pins permanently.
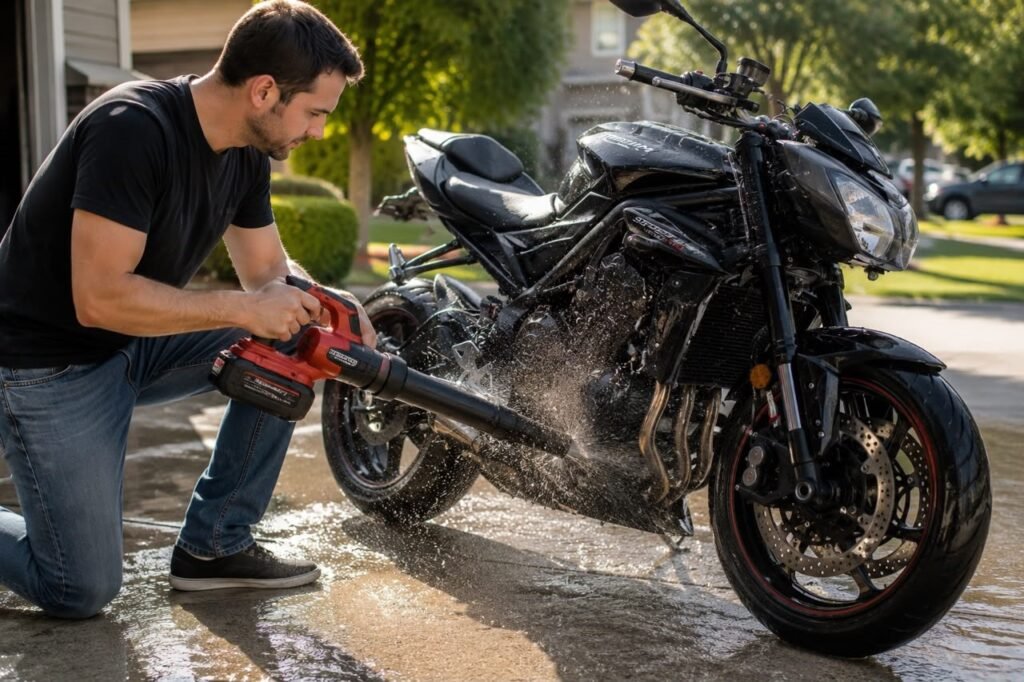
Blow Dryers / Leaf Blowers
A motorcycle has hundreds of crevices where water pools — underneath fairings, inside hollow frame sections, around battery terminals, and between stacked engine fins. A cordless leaf blower forces this water out before it can cause galvanic corrosion or wick into electrical connectors. This is not optional for riders in humid climates.
Microfiber Drying Towels — GSM Thickness
For drying painted panels, you want 600–900 GSM — heavy enough to absorb substantial water without dragging, with enough pile depth that residual grit stays suspended in the fibres rather than abrading the surface. Thin, low-GSM cloths below 300 GSM are utility rags. Don’t use them on your tank.
Motorcycle Detailing Steps at Home: The Full Process
The following represents complete motorcycle detailing steps at home — a protocol refined from professional prep work and verified against manufacturer service guidelines for component sensitivity.
Phase 1 — Cool-Down & Prep
Thermal shock is real, and it is damaging. Cold water hitting a hot aluminum engine block causes differential thermal contraction — the outer surface cools and contracts faster than the core, inducing stress fractures in the alloy over time. Exhaust headers made from mild steel are similarly vulnerable; rapid cooling causes expansion-contraction cycling that cracks chrome plating and accelerates rust at weld seams.
Before you begin how to wash a motorcycle after a ride, allow the engine to cool for a minimum of 30–45 minutes. The exhaust should be ambient to the touch before any water contacts it. Simultaneously, stuff the exhaust outlet with a clean rag or fitted plug — moisture inside a header pipe will sit in the low point and initiate rusting from the inside out.
Cover any exposed electrical connectors you can access: ABS sensors, oxygen sensor plugs, and aftermarket accessory wiring are prime entry points for water intrusion. A wrap of cling film over visible connectors is adequate. Do not seal the battery compartment; pressure washing near vented batteries creates an explosion risk.
Phase 2 — De-Griming & Chain Maintenance
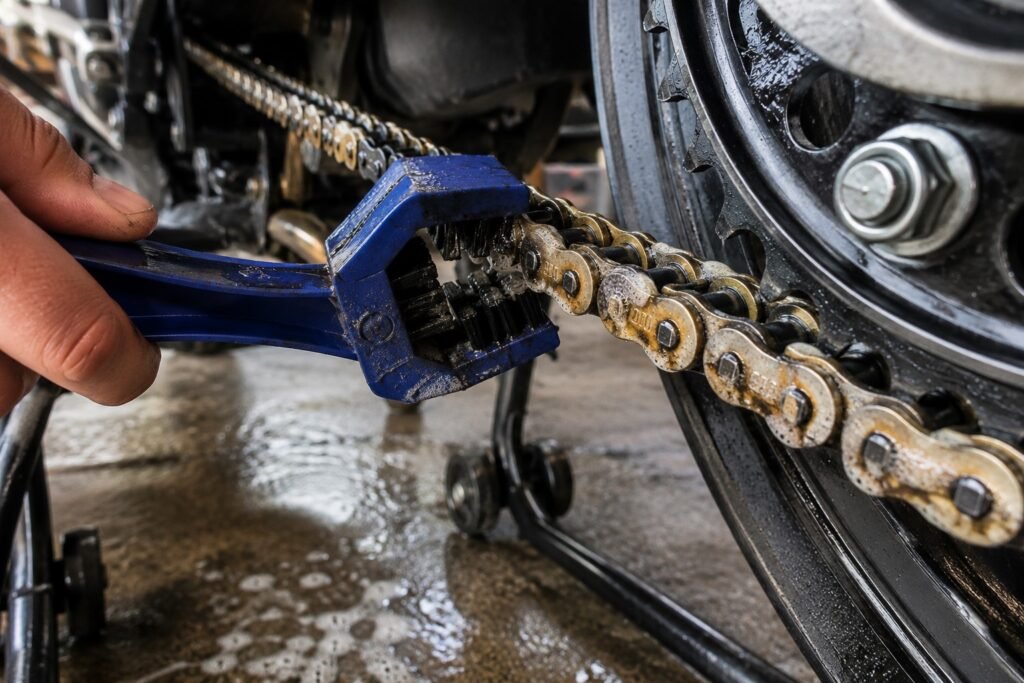
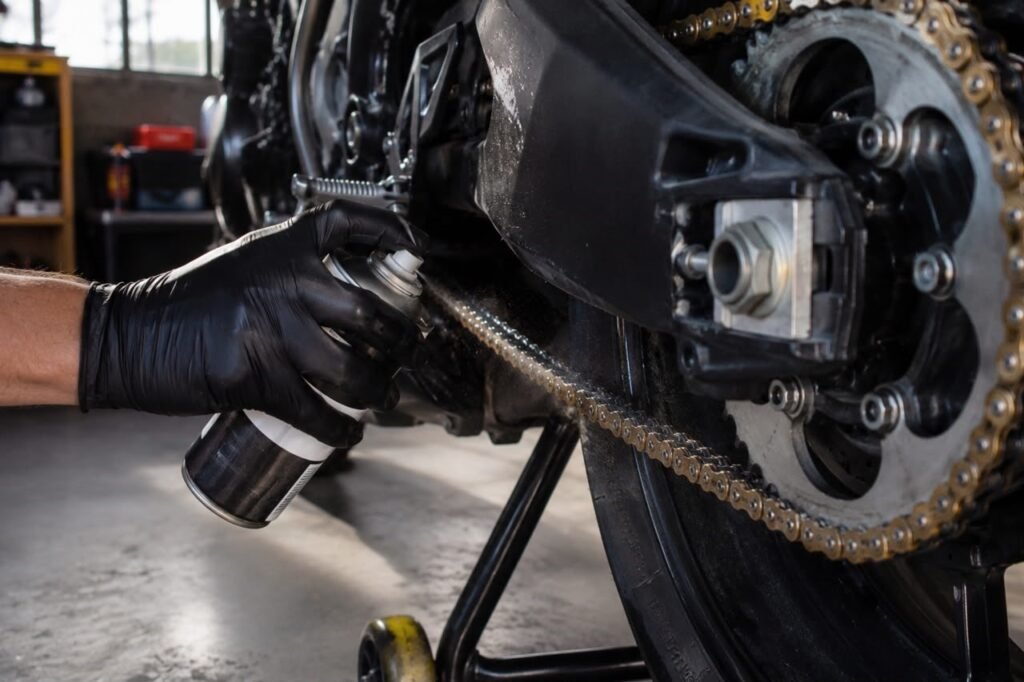
Start with the dirtiest components: chain, sprockets, and wheel rims. Knowing how to clean a motorcycle chain without removing it correctly means understanding what you are protecting. Modern O-ring and X-ring chains contain grease-sealed links — the external rollers are lubricated by you; the internal pins are lubricated for life inside the seal. Harsh solvents wick past degraded O-rings and flush that internal grease permanently.
Apply your O-ring-safe chain cleaner to a rotating chain using the three-sided brush, working in short sections. Allow 60–90 seconds of dwell time, then rinse with low-pressure water — never a pressure washer directly onto the chain. Follow immediately with chain wax or lube application while the chain is clean and slightly warm.
In contrast to the chain, rim faces can handle more aggressive scrubbing. Apply dedicated wheel cleaner, allow it to dwell, and scrub with a soft wheel brush. Brake dust is iron-based — it will react to certain iron-dissolving wheel cleaners and turn purple as it breaks down, which is visual confirmation the chemistry is working.
Phase 3 — Pre-Rinse & Main Wash
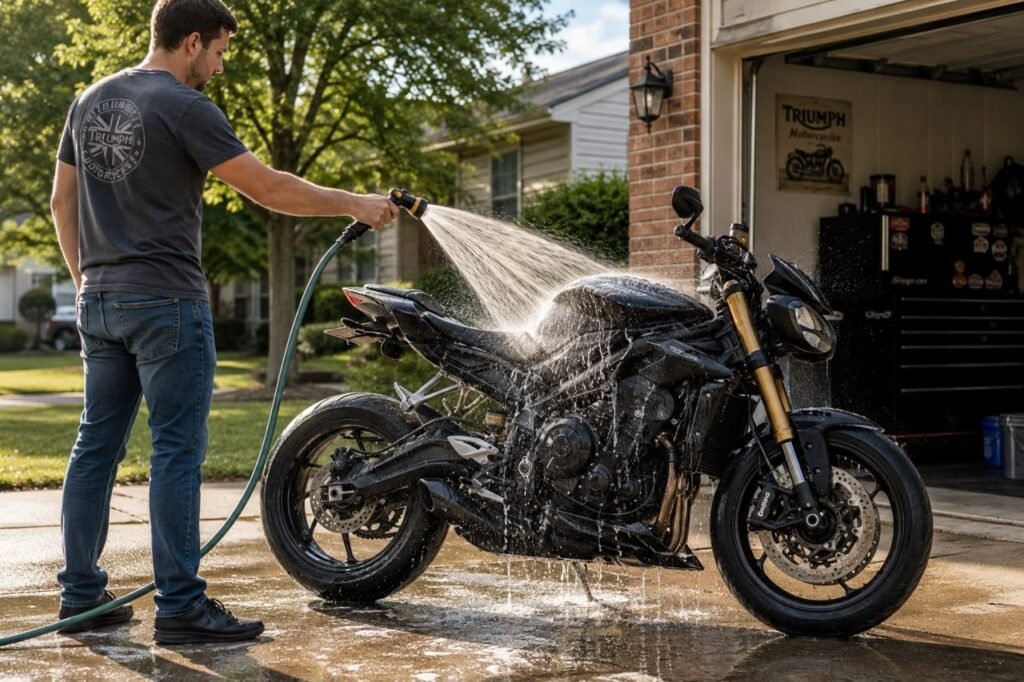
Can you use a pressure washer on a motorcycle? Technically, yes — with significant guardrails. Keep PSI below 1,200 and maintain a minimum distance of 45–60 cm from any surface. The critical exclusion zones are wheel bearing seals, steering head bearings, swingarm pivot bearings, shock absorber seals, and sealed electrical connector housings. A pressure stream at these points strips lubricants and forces water past seals that were never designed to resist direct hydraulic pressure.
A standard garden hose with a multi-pattern nozzle set to a broad fan spray is the conservative and recommended option for most riders. Pre-rinse top-to-bottom using gravity as your ally — loose debris flows downward and off the bike rather than being redistributed. Knowing how to wash a bike without scratching the paint starts here: pre-rinsing dislodges the bulk grit that would otherwise be dragged across the surface during the wash phase.
Load your chenille mitt from the shampoo bucket and work top-to-bottom: screen and instrument cluster first, then tank, fairings, frame, and finally wheels. Rinse the mitt in bucket two after every two or three panel passes. Never scrub in circular motions — straight, overlapping passes reduce the appearance of any incidental marks. Rinse the bike thoroughly before the shampoo solution dries.
Phase 4 — Drying & Post-Wash Protection
Standing water is the enemy. A motorcycle left to air-dry will develop water spots — mineral deposits from evaporated tap water — particularly on dark paint and chrome surfaces. Furthermore, water trapped in fairing gaps, instrument clusters, and electrical junction boxes creates the conditions for long-term corrosion.
Begin with the leaf blower, directing airflow into every crevice — under seat fairings, around headlight bezels, between frame rails, and through wheel spokes. Then take your 600–900 GSM drying towel and work top-to-bottom using a patting-and-dragging motion rather than aggressive scrubbing. Fold the towel frequently to expose a clean, dry face to the paint.
Post-drying is the moment for wax or paint sealant application. Surfaces are clean, slightly warm, and open to bonding. Apply a carnauba wax or ceramic spray using a fresh applicator, working one panel at a time. Buff with a second clean microfiber. Do not wax in direct sunlight — heat evaporates the carrier solvents before bonding occurs.
Aftercare & Post-Wash Re-Lubrication
Washing strips lubricants. The water and surfactant combination used during the main wash phase will displace residual chain lube, thin grease from exposed pivot points, and wash silicon-based protectants off rubber. Simultaneously, brake levers, footpeg pivots, clutch perches, and throttle-tube ends all benefit from a light application of penetrating lubricant after washing.
The chain requires immediate attention. Moisture strips factory chain lube and accelerates O-ring deterioration if left uncorrected. With the chain still warm — or warmed gently with 10 minutes of idle time — apply chain wax or lube to the inner face of the links, not the outer rollers. Rotate the wheel one full revolution per application pass and allow 10 minutes before riding so the carrier solvent evaporates fully.
FAQ
How Often Should You Wash Your Motorcycle?
Wash your motorcycle every 2–4 weeks if you ride under normal conditions. If you’ve been riding in the rain, on salted roads, or off-road, wash it as soon as possible to remove dirt and contaminants.
Your chain needs more frequent attention. Clean and lubricate it every 300–500 kilometres, regardless of when you last washed the bike.
Is It Safe to Wash a Motorcycle with a Hose?
Yes. A garden hose is the best choice for most motorcycle washes. Use a wide-fan spray nozzle and avoid spraying directly at bearing seals, electrical connectors, and suspension seals.
Always rinse from top to bottom so gravity helps carry dirt and soap away from the motorcycle.
What Household Products Can You Use to Clean a Motorcycle?
Most household cleaning products should be avoided. Warm water is safe for rinsing, and white vinegar mixed with water at a 1:10 ratio can remove water spots from chrome without scratching it.
Do not use dish soap, all-purpose cleaners, or abrasive bathroom cleaners. These products can remove protective wax, damage rubber parts, and dull painted or anodized surfaces.
Now It’s Your Turn
hat’s everything you need to know about washing a motorcycle the right way. Regular cleaning does more than keep your bike looking good—it helps protect important components, prevents premature wear, and makes it easier to spot maintenance issues before they become expensive repairs.
Do you have a favorite cleaning routine, chain degreaser, or drying trick? Share your tips in the comments. We’d love to hear what products and methods work best for you.
Every rider should know the danger of blasting a pressure washer directly near wheel bearings and suspension seals. This article does a great job explaining how hydraulic pressure forces water past factory grease and accelerates hidden corrosion. Essential checklist