
Your chain transfers every horsepower your engine produces to the rear wheel. Let it degrade, and you’re bleeding power, accelerating wear on a $150–$400 component, and — in worst-case scenarios — risking a snap at speed. Proper motorcycle chain maintenance isn’t optional upkeep. It’s the single highest-return mechanical habit a rider can build.
The Anatomy and Science of Modern Chains
Not all chains are equal, and that distinction shapes every cleaning and lubrication decision you’ll make.
Standard roller chains — found on older bikes and some budget entry-level machines — have no seals. Every link joint is open to contamination. They’re cheap to replace but demand frequent attention.
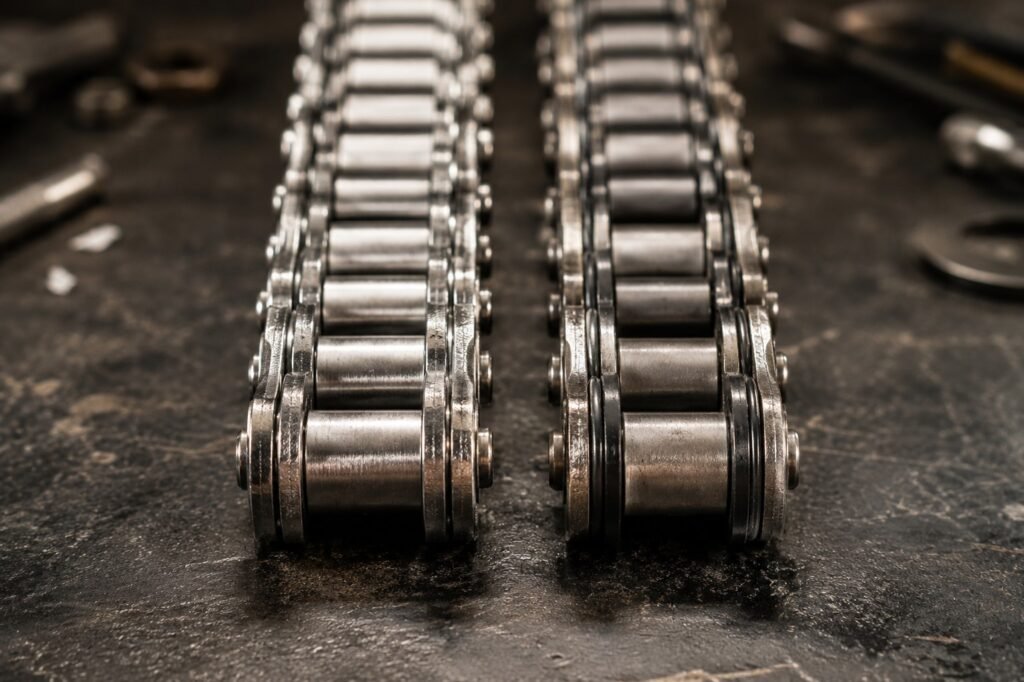
Sealed chains (O-ring, X-ring, Z-ring) dominate modern motorcycles for good reason. Each pin-and-bushing interface is sealed by a rubber ring compressed between the inner and outer link plates. That seal traps factory-packed grease inside the joint — grease you can never replace, only protect.
Here’s why this matters for cleaning: that rubber seal is your chain’s core asset. Petroleum-based solvents — gasoline, brake cleaner, acetone — swell, crack, and harden O-rings fast. Once a seal fails, internal grease evacuates and the joint wears metal-on-metal. The chain you’re trying to clean becomes the chain you’re accelerating toward replacing.
X-ring and Z-ring designs use profiled seals with reduced contact area, cutting friction versus classic O-rings while improving retention. They’re more durable under aggressive solvent exposure — but still not immune. Treat every sealed chain as seal-critical.
The Ultimate Tool Kit and Buying Guide
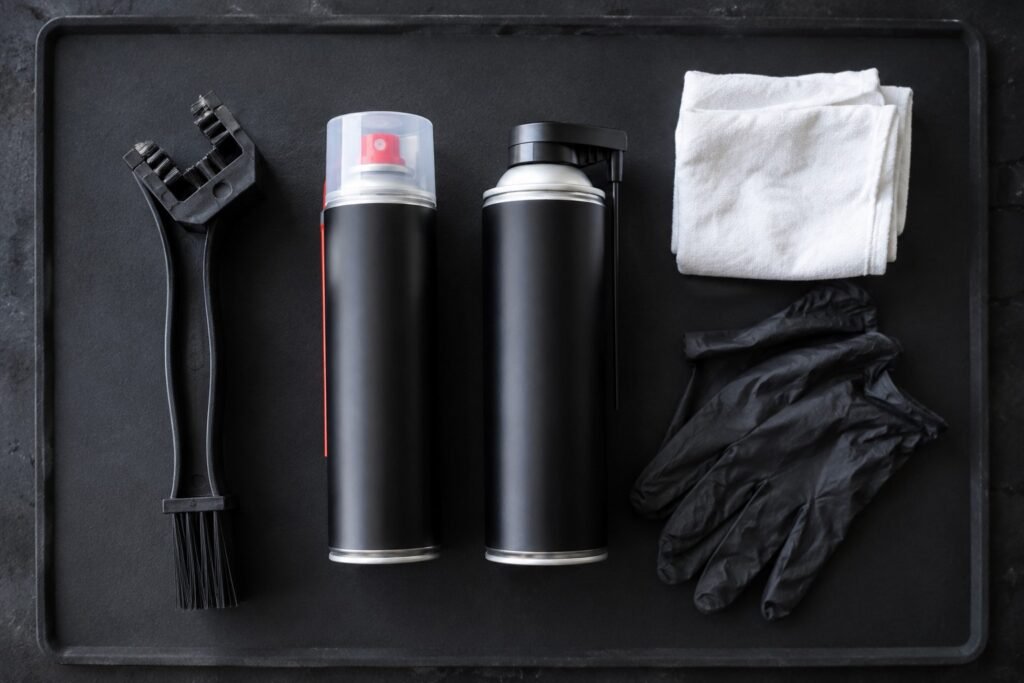
Getting this right means having the correct products before the chain sees a single drop of anything.
Cleaners: Kerosene vs. Dedicated Chain Solvents
| Cleaner | O-Ring Safety | Grease Cutting | Notes |
|---|---|---|---|
| Kerosene | Generally safe | Moderate | Slow-acting, low-cost, widely available |
| Dedicated chain cleaner (Motul, Maxima, PJ1) | Formulated safe | High | Fast-acting, often biodegradable |
| WD-40 Multi-Use | Borderline | Low | See FAQ — not the right tool here |
| Brake cleaner / Petrol | Unsafe | High | Destroys O-rings. Never use. |
Dedicated chain-specific solvents win on every metric except price. Brands like Motul Chain Clean, Maxima Chain Cleaner, and PJ1 Blue Label are engineered to cut road grime and old lubricant without attacking rubber. Kerosene works in a pinch and is safe for sealed chains, but it’s slower and messier.
Lubricants: Paste, Liquid Aerosol, and Dry Lube
Choosing the best motorcycle chain lube and cleaner combination often comes down to your riding conditions.
| Lubricant Type | Fling Resistance | Wet Performance | Dry Performance | Application |
|---|---|---|---|---|
| Paste / Wax lube (Scottoiler Wax) | Excellent | Good | Excellent | Brush or roller |
| Liquid Aerosol (Motul Chain Lube Road, DID) | Good–Excellent | Good | Good | Spray |
| Dry / PTFE lube | Moderate | Poor | Excellent | Spray |
Wet-condition riders should prioritize a heavy-duty aerosol or wax-based lube with high water resistance. Dry-climate and track riders benefit from dry/PTFE lubes that resist dust pickup. Fling resistance matters more than most riders realize — a lube that centrifuges off at speed ends up on your rear tire, not on your chain.
Brushes and Stand Options
A quality motorcycle chain cleaning brush tool is non-negotiable. Three-sided chain brushes — with bristles on three faces simultaneously contacting inner plates, outer plates, and rollers — cut cleaning time dramatically versus a single-face brush. Top options include the Grunge Brush, Oxford Chain Brush, and the MotoGP-spec Zymöl unit.
Stand options:
- Paddock stand (rear): Ideal. Lifts the rear wheel free, allowing full chain rotation while stationary. Invest in one if you do your own maintenance regularly.
- Center stand: Built-in on touring and adventure bikes — use it.
- No-stand method: Completely workable. See the dedicated technique in the cleaning section below.
Step-by-Step Chain Cleaning Guide
Work in a ventilated area. Lay cardboard under the chain to catch drips and protect your floor or driveway.
1. Let the engine cool. Hot exhaust components and flammable solvents are a fire hazard. A 15-minute cool-down is sufficient.
2. Put the bike in neutral. Whether you’re on a stand or not, you need to rotate the rear wheel freely.
3. Apply chain cleaner to the lower chain run. Spray or brush solvent onto the chain, focusing on the inner links, rollers, and side plates where grime concentrates. Work in 6-inch sections.
4. Agitate with your chain brush. Work the three-sided brush around the full chain perimeter with firm, consistent strokes. You’ll see black-brown grunge releasing immediately.
5. Rotate the wheel and repeat. Progress around the full chain length in sections until every link has been scrubbed.
6. Wipe down with a clean rag. Remove dissolved grime and excess solvent. Inspect for tight links, corrosion, and wear as you wipe.
7. Allow to fully dry. Residual solvent contaminates fresh lubricant. Give it 5–10 minutes minimum before lubricating.
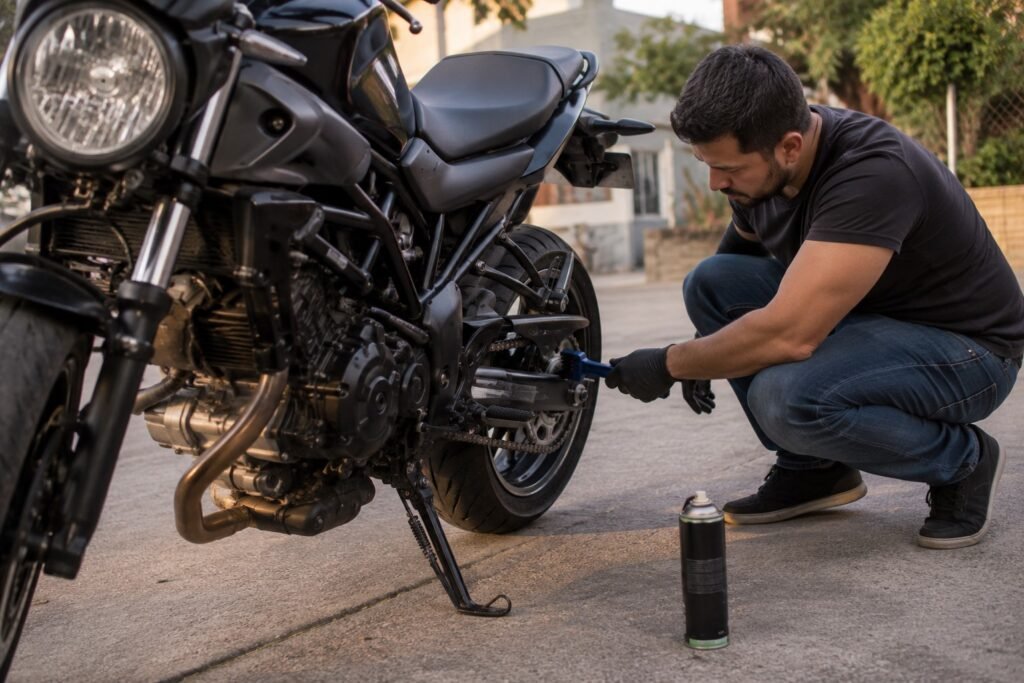
How to Clean a Motorcycle Chain Without a Stand
Cleaning a chain without a stand is entirely feasible — millions of riders do it. Two techniques work reliably.
The forward-roll method: With the bike on its sidestand and the engine off, put the transmission in neutral. Reach over the bike and push the rear wheel forward manually while applying cleaner and brush to the lower chain run. You’ll rotate the chain 4–5 inches per push. Work methodically around the full loop.
Safety note: Keep fingers clear of sprockets. Never bump-start or engage the engine during this process.
The side-stand pivot technique: With the bike on its sidestand, access the chain from the left side. Because the bike leans slightly, the chain sag on the lower run is more accessible. This works especially well for the inner link faces that a rear-stand setup sometimes obscures.
Limitation: Neither method matches the ergonomic ease of a paddock stand for full inspection. Compensate by working slowly and using a flashlight to check all link faces.
The Art of Lubrication
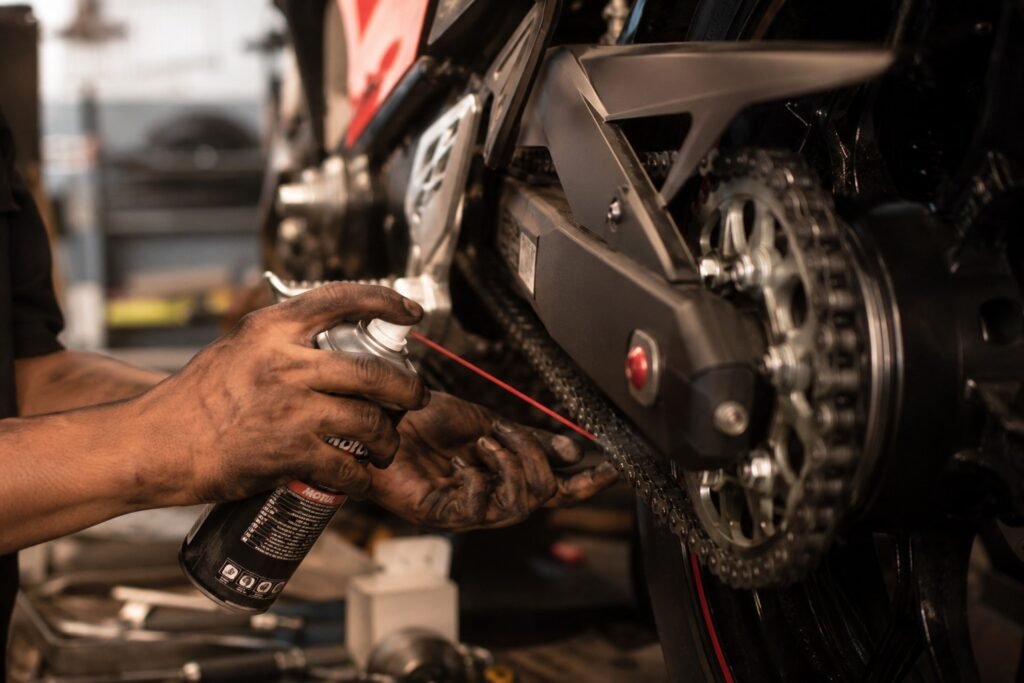
Lubrication is where most riders — even experienced ones — make their critical mistake. They spray the outside of the chain. That’s theater, not maintenance.
Where lube actually needs to go: The inner chain run, targeting the interface between inner link plates, rollers, and side plates. Lubricant applied to the outer surface of the chain flings off within minutes and contributes nothing to joint life.
Step-by-Step Motorcycle Chain Lubrication
Follow this step by step motorcycle chain lubrication process for maximum retention and penetration.
1. Warm the chain first. Take a short 5–10 minute ride immediately before lubricating. A warm chain means thermally expanded O-rings and link joints, allowing lubricant to wick deeper into the tight tolerances. This is the single technique that separates thorough lubrication from surface coating.
2. Let the bike cool for 2–3 minutes. Not fully cold — just off peak temperature. You want warm, not burning.
3. Position for access. Use your stand, or use the no-stand technique from the cleaning section.
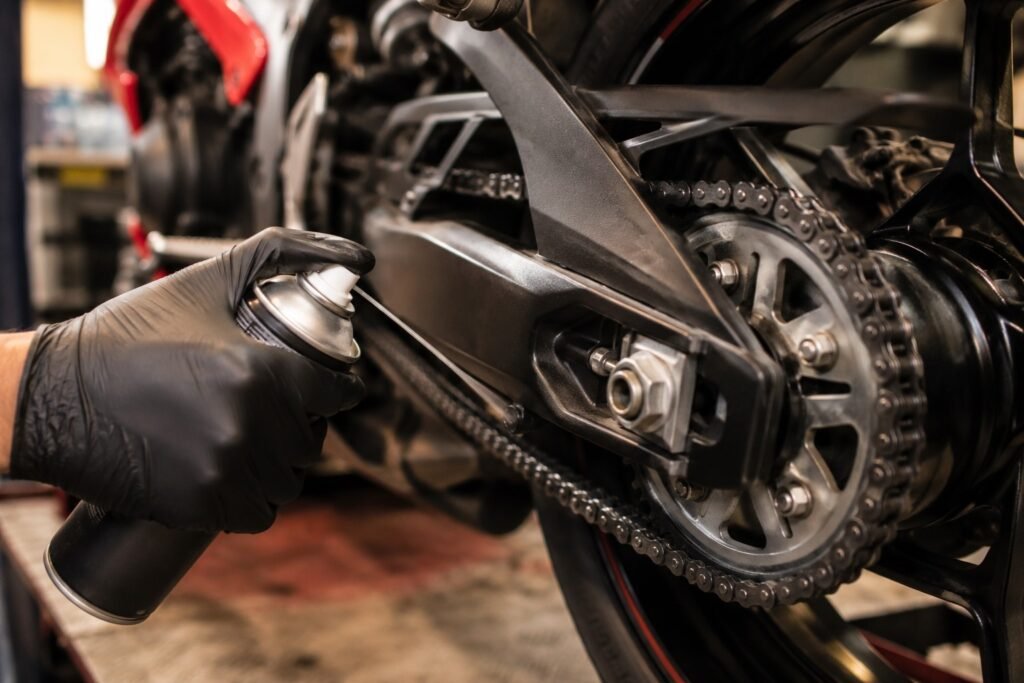
4. Apply lube to the inner run only. Hold the nozzle 1–2 cm from the chain and spray a thin, consistent bead onto the inner link/roller interface as you slowly rotate the wheel. One pass around the full chain length.
5. Work in sections. Rotate the wheel, re-position your spray point, continue. Don’t rush — consistent coverage beats heavy application on one section.
6. Allow 3–5 minutes for penetration. Capillary action pulls lubricant into the internal gaps during this window.
7. Wipe off excess from the outer plates. Excess lube on outer surfaces becomes a fling-and-spatter problem. A light wipe with a clean rag removes surface excess without pulling lube from where it matters.
FAQs and Myth-Busting
Can You Use WD-40 to Clean a Motorcycle Chain?
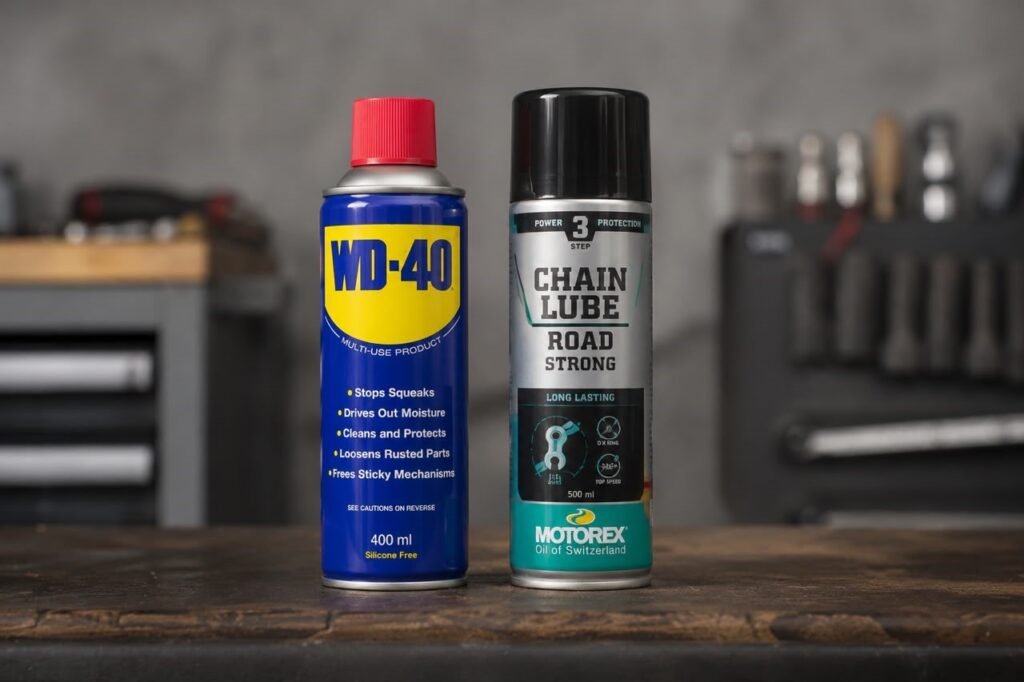
This question needs a nuanced answer, not a flat dismissal. WD-40’s full name is Water Displacement Formula 40 — it’s a penetrating solvent designed to displace moisture and loosen corrosion, not to lubricate under load.
As a cleaner for non-sealed chains: WD-40 is marginally acceptable as a solvent step if you have nothing else. It cuts light grease reasonably well.
On sealed chains: Prolonged or repeated exposure degrades nitrile and EPDM O-rings over time. Single-use emergency application is unlikely to cause catastrophic damage. Regular use absolutely will. The documented mechanism is solvent-induced rubber swelling followed by hardening and micro-cracking as it evaporates.
The bottom line: use it once in a field emergency, then clean it off and apply a proper lubricant. Never use it as your standard maintenance product.
How Often Should You Clean a Motorcycle Chain?
How often to clean your motorcycle chain depends heavily on conditions, not just mileage.
- Dry road riding: Every 300–500 miles, or when visible grime accumulates
- Wet or rainy conditions: Every 150–200 miles — water accelerates lube washout
- Off-road / trail riding: After every ride, minimum
- Track use: Before every session
These are floor thresholds. If you can hear chain noise or feel roughness through the drivetrain, you’ve already waited too long.
Signs Your Motorcycle Chain Needs Lube
Signs your motorcycle chain needs lube are often obvious if you know where to look:
- Audible squeaking or clicking from the rear drivetrain under load
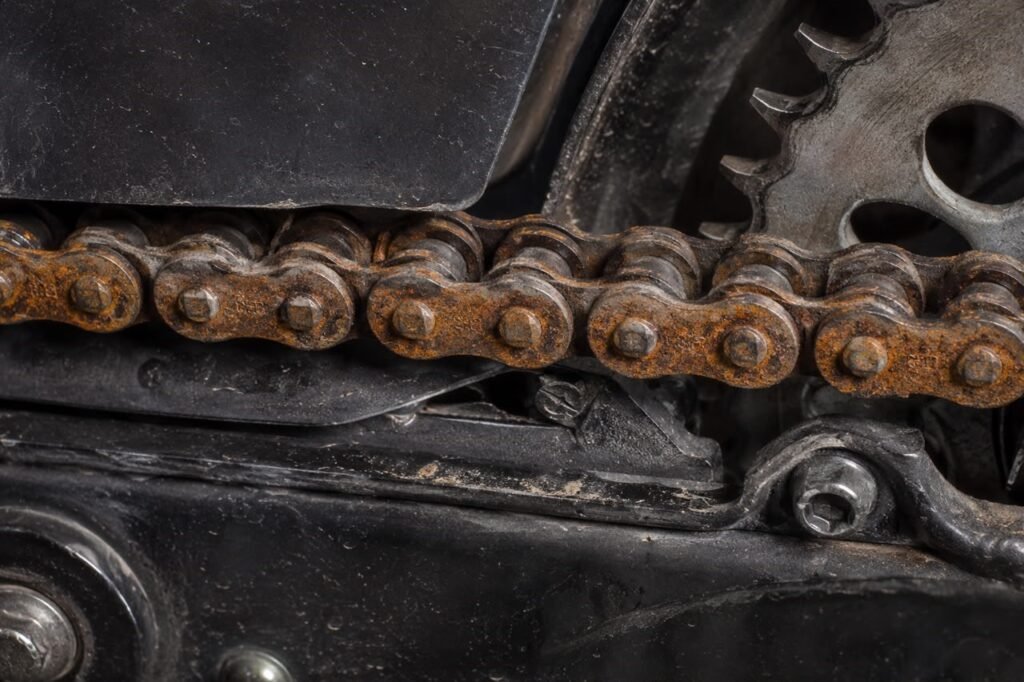
- Visible rust or orange discoloration on link plates or rollers
- Dry, dull appearance — a well-lubricated chain has a slight sheen; a dry one looks flat and grey
- Stiff or tight links that don’t articulate smoothly as you flex the chain by hand
- Increased chain noise under acceleration, particularly in higher gears
Any one of these signs means lubrication is overdue. Multiple signs together mean your next ride should be short and slow until you’ve addressed it.
Consistent motorcycle chain maintenance — clean chain, correct lube, correct interval — is the cheapest insurance policy in motorcycling. A new chain and sprocket set runs $150–$400 installed. A can of chain cleaner and a chain lube costs under $25. The math makes the decision for you.