
Every rider hits the same wall eventually. You want to carry more than what fits in your pockets. But you don’t want a backpack soaking your shirt in sweat by the second gas stop. And you definitely don’t want to drop three grand on hard panniers for a bike you might trade in next spring. I’ve been there more times than I can count. Strapped to a bungee-corded gym bag on a Tuesday commute, cursing myself for not just buying a proper bag years earlier.
That’s the gap the best motorcycle tail bag fills. It sits on the pillion seat or a rear rack. It rides low and centered on the bike instead of on your spine. And it comes off in the time it takes to unclip a few buckles. You won’t have to deal with rider fatigue, worry about damaging your motorcycle’s finish, or sink a huge amount of money into luggage for a machine you might not keep for long.
I’ve mounted, loaded, rained on, and highway-tested a long line of these things over fifteen-plus years of commuting and touring. Some were brilliant. Some nearly became roadside debris outside Asheville. This guide covers everything I’ve learned the hard way: how to size a bag to your riding style, what “waterproof” actually means, how mounting systems fail, and which bag shape suits which kind of bike. If you’re trying to find the best motorcycle tail bag for how you actually ride, this is the deep dive.
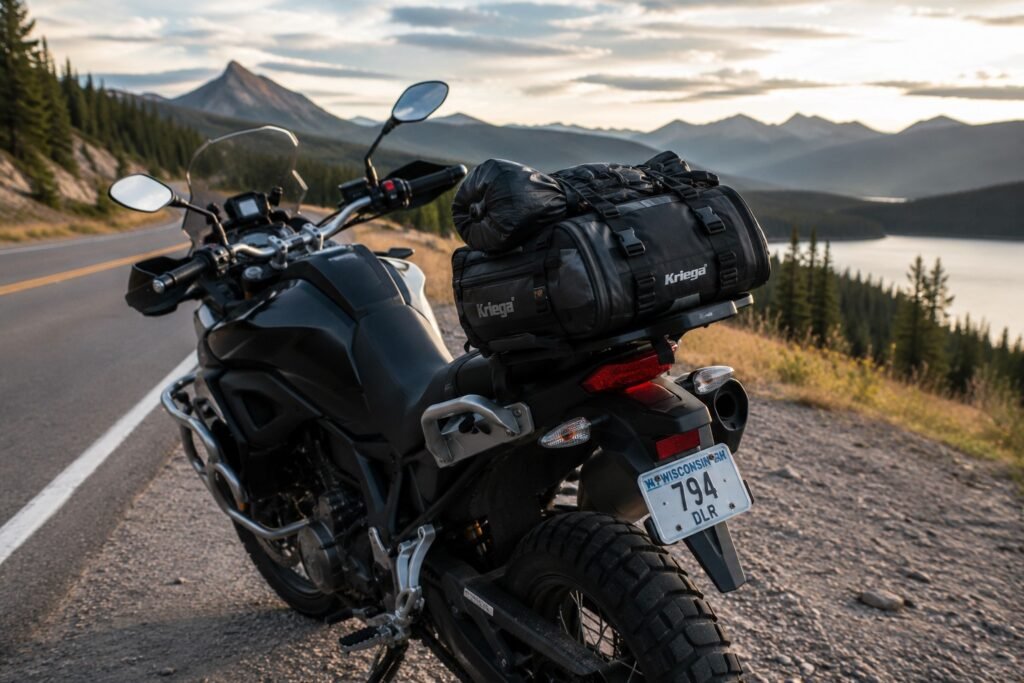
Matching Bag Capacity to Your Riding Style
Capacity is the first decision, and most riders get it wrong. They either buy too small and end up bungeeing a second bag on top by week three. Or they buy a 45-liter monster for a 12-mile commute and spend the whole ride feeling like they’re hauling a mattress.
If you’re still deciding what size works best, comparing different sizes and designs can help. The Viking Bags motorcycle tail bags collection includes options for daily commuting, weekend rides, and long-distance touring, making it easier to find a bag that matches your riding style.
Daily Commuting (10L–20L)
For lane splitting and everyday carry, smaller is genuinely better. I ran a 15-liter bag as my only commuter luggage for two winters. The sleek profile mattered more than I expected. A bag that balloons out past your shoulders catches wind at speed. That makes filtering through stopped traffic a lot more nerve-wracking than it needs to be.
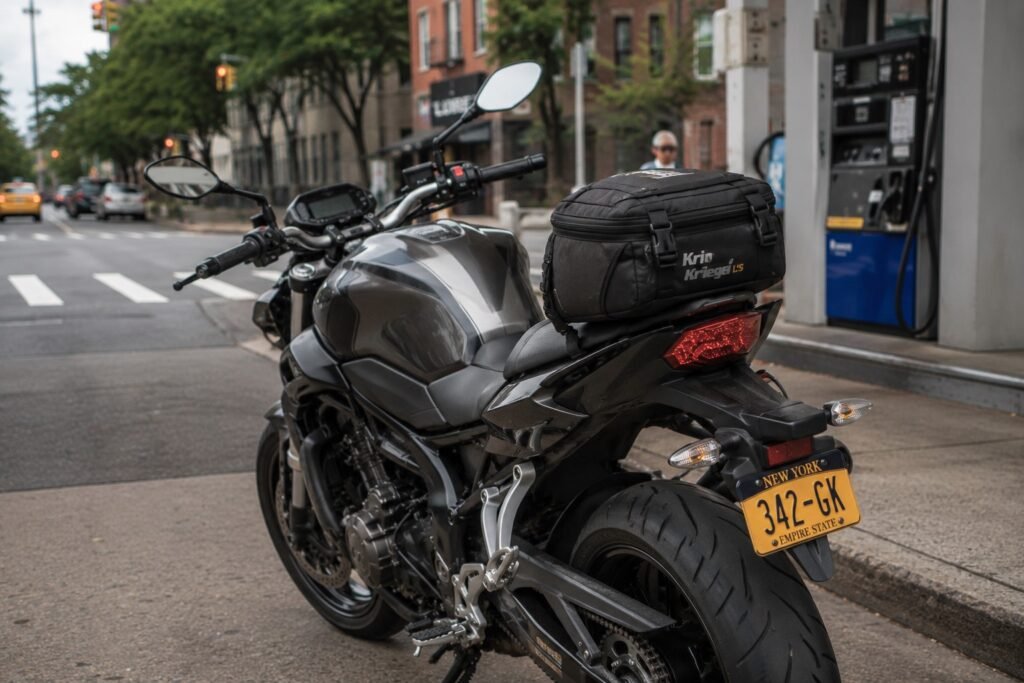
This size range comfortably swallows a laptop, a rain shell, lunch, and a lock. For most commuters, this is where the best motorcycle tail bag search should start. That’s the sweet spot. Go smaller and you’ll compromise on the rain jacket. Go larger and you’re carrying dead space most days, which just gives the bag extra leverage to shift under braking.
Weekend Getaways (20L–40L)
This is the do-everything range. It’s where most riders should probably start if they’re only buying one bag. A 30-liter bag handles an overnight bag’s worth of clothes, a couple of layers for temperature swings, and still leaves room for snacks. I ran a bag in this range through a week of unpredictable spring weather in the Blue Ridge Mountains. I swapped between a base layer and a heavier jacket depending on elevation and never once ran out of room.
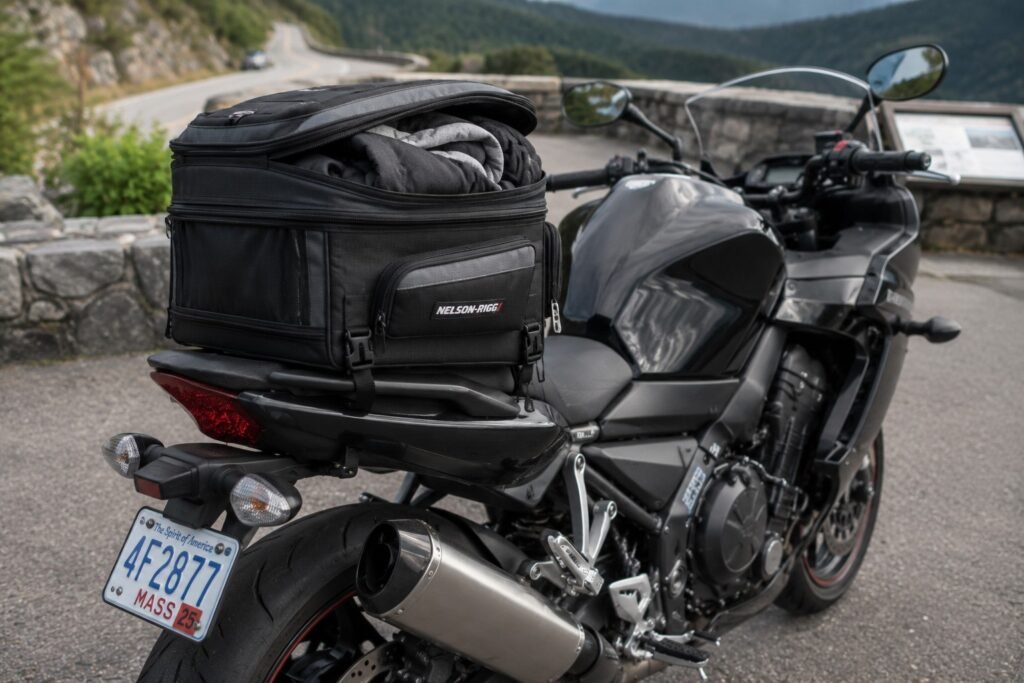
The trade-off here is mounting stability. A half-empty 35-liter bag flops around more than a snugly packed 20-liter one. If you’re buying in this range, look for internal compression straps that let you cinch the bag down when you’re not using full capacity.
The Mechanics of an Expandable Motorcycle Tail Bag
Here’s where it gets interesting, mechanically speaking. An expandable motorcycle tail bag typically uses a perimeter zipper around the base with a folded gusset panel hidden inside. Unzip it, and the gusset unfolds to add several liters of height and width.
The catch nobody explains up front: those extra zippers are extra failure points. Every stitch line gives water a way in. And every expansion seam takes more stress once the bag is fully loaded and bouncing over a rough back road. I had an expansion zipper start separating at the corner after about eight months of regular use. Not catastrophic, but enough that I taped it as a stopgap until I fixed it. If you rarely use the expanded capacity, a fixed-size bag in a slightly larger volume is often the more durable choice.
There’s also a drag penalty most reviews skip entirely. An empty expandable bag, unzipped and collapsed down, still holds its expanded shape somewhat because of internal stiffening panels. That means more surface area catching crosswind on the highway than a bag genuinely sized to what you’re carrying that day.
Weatherproofing — The Myth of “Water-Resistant” Gear
Weatherproofing is where the best motorcycle tail bag options separate themselves from the pack. This is the section that separates riders who’ve actually ridden in real weather from people writing spec sheets in an office. Product listings use “water-resistant” and “waterproof” almost interchangeably. The difference between them is the difference between arriving with dry socks and arriving with a bag full of soup.
Understanding Fabric Density and Coatings
Denier measures the thickness of the individual fibers in the fabric weave. Higher numbers mean thicker, more abrasion-resistant thread. Two materials dominate this category: 1680D ballistic nylon with a polyurethane backing, and 500D PVC tarpaulin.
The ballistic nylon setup is lighter and more flexible. It also resists long-term UV exposure without going brittle. I’ve had a PU-backed nylon bag survive three summers of daily sun exposure with no cracking. PVC tarpaulin is heavier and stiffer, but genuinely tougher against abrasion. If your bag rubs against a pannier or gets scraped loading it onto a rack, PVC shrugs that off better. Neither material wins automatically. It depends on whether you prioritize weight or brute durability.
Why You Need a Waterproof Motorcycle Tail Bag with IP Rating
Ingress Protection ratings exist because “waterproof” as a marketing word means basically nothing on its own. An IP65 rating protects against low-pressure water jets from any direction. That’s fine for a rainstorm while parked. An IP67 rating means the bag can survive brief submersion, and that matters more than it sounds like once you understand what actually happens to a bag at highway speed.
Here’s the part almost nobody mentions. At 70 mph, rain doesn’t just fall on your bag. Wind drives it in horizontally. Meanwhile the wheel behind you throws up a continuous spray that hits the underside of the bag at real pressure. That’s a fundamentally different stress test than a garden hose in a parking lot. I once trusted a bag rated only for splash resistance on a three-hour highway run in steady rain. I opened it to find the bottom two inches of my spare hoodie damp. Not soaked, but damp enough to tell me the tag didn’t match reality.
Roll-Tops vs. Water-Sealed Zippers
This is the single biggest predictor of whether your gear stays dry, full stop. Stitched zippers, even ones marketed as “water-resistant,” rely on a coated zipper tape. Manufacturers punch thread holes straight through the fabric to sew that tape on. Every one of those needle holes becomes a potential leak path once the coating wears down.
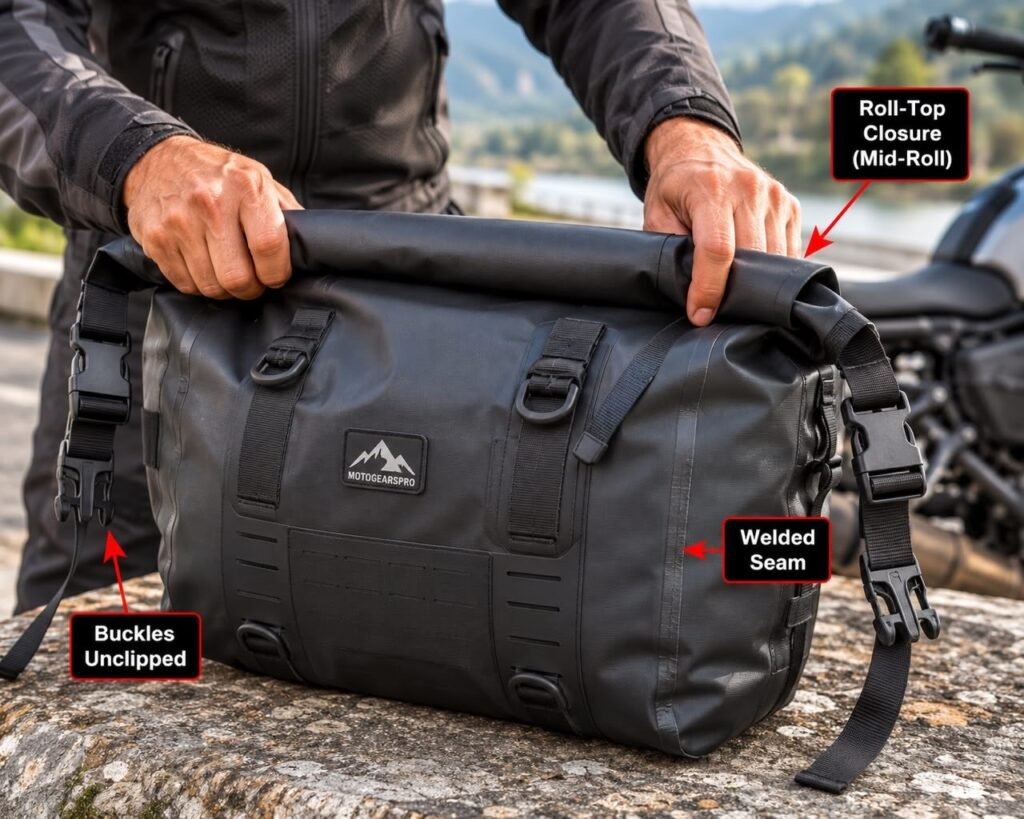
Roll-top closures with welded seams skip the zipper entirely. You fold the top down three or four times and clip the buckles. No stitching means no path for water to exploit. I ran a 30-liter roll-top bag through a full week of rain in the Blue Ridge Mountains. The roll-top never let a drop through, even on the day it rained sideways for four straight hours. If maximum water protection matters more to you than quick single-item access, roll-tops win every time. The trade-off is real: you’re not casually grabbing your phone from a side pocket at a red light. You’re committing to a full unroll.
That’s the trade-off nobody mentions when they call something a waterproof motorcycle tail bag with IP rating. The rating tells you about pressure resistance. The closure design tells you about long-term reliability.
Mounting Systems & Stability Mechanics
A tail bag lives or dies on how it’s mounted. Honestly, this is the section I wish more buying guides took seriously before crowning anything the best motorcycle tail bag on the market. I’ve seen more bags fail here than anywhere else, and not from bad fabric. From bad physics.
Traditional 4-Point Webbed Strap Systems
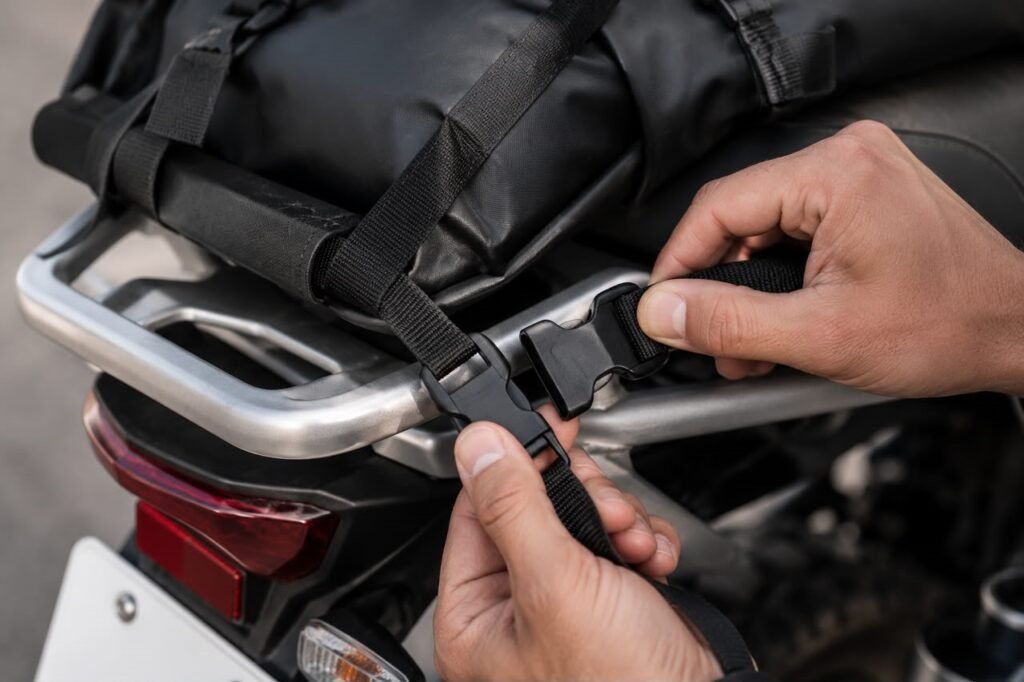
The classic setup routes four straps down to anchor loops on the subframe or grab rails. Done right, this setup is genuinely bombproof. The load spreads across four points instead of concentrating on one, so the bag stays flat against the seat instead of rocking.
The physics matter here more than people realize. A bag mounted with straps running at a steep angle down to low anchor points resists forward-and-back shifting far better than one with straps running nearly horizontal to high anchor points. If your subframe only offers high mounting points, look for a bag with a rigid base plate. That resists rocking no matter the strap angle.
The Convenience of a Quick Release Motorcycle Rear Bag
A quick release motorcycle rear bag swaps the strap-and-buckle routine for a cam-buckle or clip system. That system mounts to a base plate that stays permanently fixed to the bike. You click the bag on, click it off. Genuinely under ten seconds once you’re used to it.
I switched to this style for daily commuting and haven’t looked back for that use case. The trade-off matters, though: you’re now trusting fewer contact points instead of four distributed straps. So the quality of the cam-buckle mechanism matters enormously. A cheap plastic cam-buckle under repeated daily stress tends to fail at the worst possible moment. Mine developed play in the locking mechanism after about four months of twice-daily use. The bag started rocking side to side over speed bumps.
Safety Pitfalls to Avoid
Slack in your straps is the single most common mistake I see. It’s also dangerous in a specific, unglamorous way. A loose strap end can work its way toward the rear wheel, or worse, toward a hot exhaust pipe. I once watched a friend’s dangling strap end get pulled into a chain guard on a gravel road. No crash, thankfully, but a genuinely close call and a ruined strap.
Always tuck excess strap length. And always run a second tension check after your first ten minutes of riding. Webbing settles and stretches slightly once it carries real load. A strap that felt snug in the driveway can loosen noticeably by your first fuel stop.
Bike Architecture Compatibility
Not every bag fits every bike, and this is where most generic buying guides get vague. The shape of your pillion seat and subframe dictates what’s actually going to sit stable back there.
Finding a Motorcycle Tail Bag for Sportbikes
A motorcycle tail bag for sportbikes has to deal with two problems most other bikes don’t have: a tiny pillion seat and an aggressive rearward slope. A bag built for a cruiser’s flat, wide seat will slide forward on a sportbike’s steep tail section the moment you brake hard.
Look specifically for bags with a narrow, tapered base and mounting points designed for grab rails rather than seat straps alone. A hard shell motorcycle tail bag option is worth considering here too. The rigid base resists the forward-sliding tendency far better than a soft duffel shape, since it can’t deform and creep the way fabric does under repeated braking loads.
Rugged Setups for an Adventure Motorcycle Tail Pack
An adventure motorcycle tail pack needs to survive a completely different threat profile: dust infiltration, vibration from washboard gravel, and the real possibility of the bike going down on a technical section. Soft luggage has a real advantage here that a lot of ADV riders overlook. When the bike tips over at low speed on loose gravel, a soft bag flexes and absorbs some of the impact. An aluminum box, by contrast, transfers that force straight into its mounting hardware and can bend a rack.
I once dropped a bike with a soft ADV tail pack on it at near-zero speed on a rocky trail. I walked away with a scuffed bag and an undamaged rack. A friend running an aluminum box in a similar low-speed tip-over bent a mounting bracket badly enough that it needed replacing. Dust is the other consideration. Look for a pack with a storm flap over the main closure, since fine dust works into standard zippers over a full day of gravel riding in a way regular rain never quite manages.
Cruiser and Sport-Touring Layouts
Cruisers and sport-tourers usually offer the most generous mounting real estate. Passenger pads and sissy bar configurations give a bag something substantial to lean against. This opens up stacking as a genuine option: a smaller bag mounted to a base plate on the sissy bar, with a larger roll bag strapped on top for longer trips.
The consideration here is weight height. Stacking bags raises your effective center of gravity, and you’ll feel that most in slow, tight parking lot maneuvers. Keep the heaviest items in the lowest bag in the stack, and you’ll barely notice the difference on the road.
Tail Bag Categories Compared
| Category | Ideal Rider | Average Capacity (L) | Best Material | Mounting Speed | Price Range |
|---|---|---|---|---|---|
| Commuter Sleeve | Daily lane-splitters, urban riders | 10–20L | 1680D ballistic nylon | Fast (quick-release) | $50–$120 |
| Weekend Roll Bag | Overnighters, mixed-use riders | 20–40L | PU-backed nylon or PVC tarpaulin | Moderate (4-point strap) | $80–$200 |
| Sportbike Hard Shell | Sportbike/track-day riders | 8–18L | ABS shell + nylon lining | Fast (base plate) | $100–$250 |
| Adventure Soft Pack | Dual-sport, off-road tourers | 25–50L | 500D–1000D PVC tarpaulin | Moderate (multi-strap) | $120–$300 |
| Cruiser/Sissy Bar Stack | Cruiser and sport-touring riders | 15–60L (stacked) | Leather or coated nylon | Slow (fixed base) | $90–$350 |
[INSERT AMAZON LINK HERE]
The Ultimate Buyer’s Checklist & Red Flags
After you’ve narrowed down capacity, weatherproofing, and mounting style, a few smaller details separate a bag that lasts years from one that’s landfill by next season.
Premium Features to Look For
Reflective piping isn’t a gimmick. A bag mounted at the very rear of your bike is your best chance at being seen from behind at dusk, and a strip of 3M reflective material genuinely helps. Glove-friendly zipper pulls sound minor until you’re fumbling at a gas station in freezing weather. The oversized loop kind you can grab with thick winter gloves beats a tiny standard pull tab every time.
Paint protection matters more than riders expect. Look for a rubberized or felt-lined contact panel on the underside of the bag where it touches the seat or tank. I’ve seen bare nylon backing wear a visible rub mark into seat vinyl after a single season of daily strapping and unstrapping.
Cheap Manufacturing Red Flags
Plastic D-rings are the clearest tell of a corner-cut build. Under real load, especially the sudden jolt of a pothole hit at speed, plastic hardware flexes and eventually cracks in a way metal simply doesn’t. Squeeze the D-rings on any bag you’re considering. If they flex noticeably under thumb pressure, walk away.
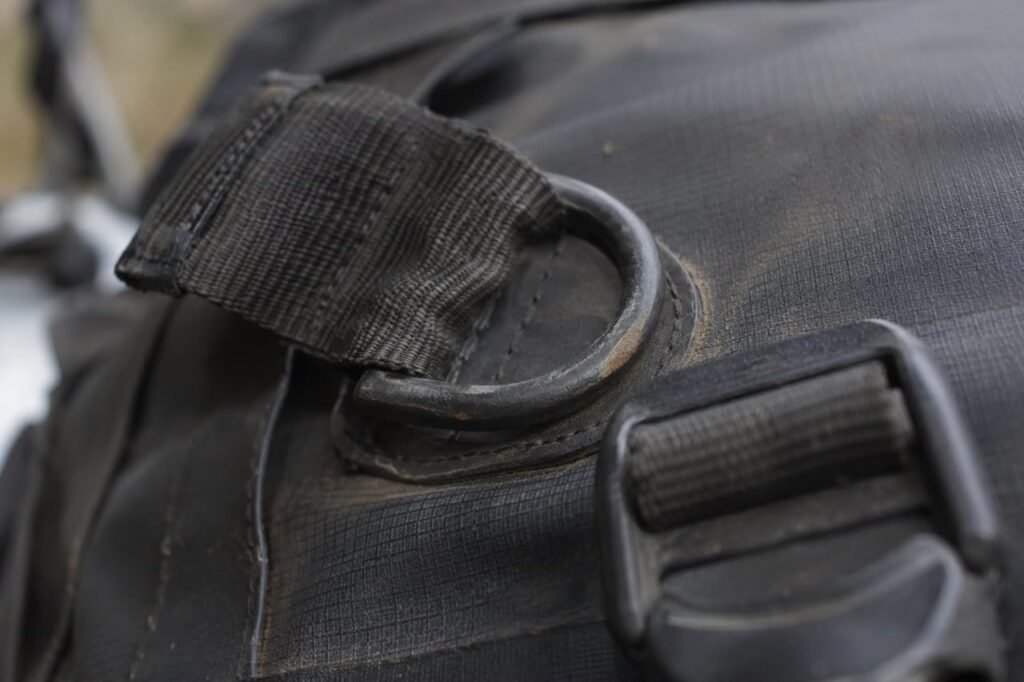
Unbranded buckles are another giveaway. Name-brand cam-buckle hardware costs a few dollars more per unit, but it tends to use UV-stabilized plastic that resists brittleness after a summer of sun exposure. Generic hardware often doesn’t hold up the same way. A buckle that snaps on a random Tuesday commute is exactly how bags end up as roadside debris. Finally, flex the base of the bag with your hand. No internal stiffener means the bag will slump and sag the moment it’s loaded unevenly, and that puts more strain on your straps than a properly structured bag ever would.
Conclusion
Finding the best motorcycle tail bag really comes down to being honest about how you actually ride, not how you imagine you might ride someday. A commuter doesn’t need 45 liters of expandable ADV capacity. A weekend tourer will find a laptop-and-lunch bag frustrating. Match capacity to your real trips. Question weatherproofing claims until you’ve checked the seam construction yourself. And never underestimate how much the mounting system determines whether a bag disappears into your ride or becomes the thing you’re white-knuckling about at every red light.
The best motorcycle tail bag isn’t the one with the flashiest spec sheet. It’s the one built for your bike’s actual geometry, tested against real weather, and mounted with hardware that won’t quit on you eighteen months in. Before you buy anything, audit your own bike’s tail layout. Measure your pillion seat. Check what anchor points your subframe actually offers. Figure out how often you’ll realistically take the bag on and off. That fifteen minutes of homework will save you from buying the wrong bag twice.