
Introduction
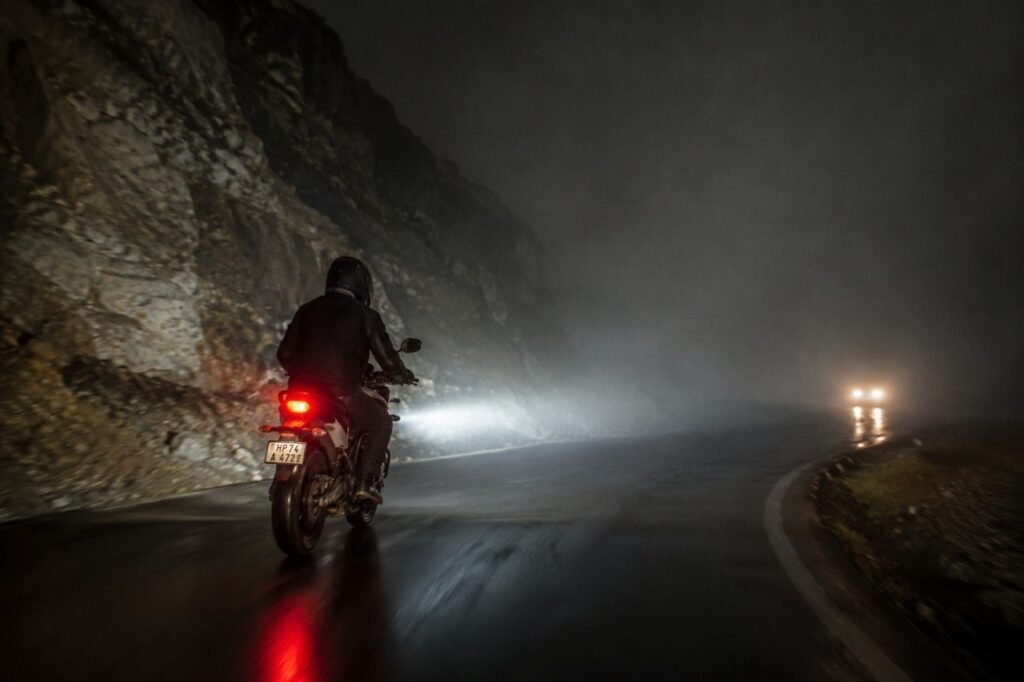
Picture this. You’re riding home after dark on a familiar back road. Your headlight throws a dull yellow smear maybe forty feet ahead of the front tyre. Meanwhile, an oncoming SUV is running projector headlights bright enough to rearrange your retinas.
That gap — between what your bike can see and what it actually needs to see — is not a minor inconvenience. It is a genuine safety liability. Stock halogen setups on most motorcycles have not changed in decades.
Modern traffic is faster and more distracted than ever. Roads have more variation. Intersections are more complex. So riders need every optical advantage they can get. That is precisely why a proper motorcycle led lighting upgrade has shifted from a cosmetic mod to a real safety priority.
This guide covers the full picture. Headlights, indicators, tail lights, and the wiring that holds it all together. Whether you ride a vintage café racer or a modern adventure tourer, the fundamentals are the same.
Halogen vs. HID vs. LED: The Numbers Side by Side
Before you pull a single bolt, understand what you are working with and what you are upgrading to.
| Metric | Halogen | HID (Xenon) | LED |
|---|---|---|---|
| Power Draw | 55–65W | 35W | 15–25W |
| Lifespan | 450–1,000 hrs | 2,000–3,000 hrs | 30,000–50,000 hrs |
| Lumens per Watt | ~15 lm/W | ~85 lm/W | ~100–130 lm/W |
| Vibration Resistance | Poor | Moderate | Excellent |
| Installation Complexity | Simple | High | Moderate |
HID was the enthusiast’s choice for a decade. But ballast circuitry adds failure points. Cold-start delays are a real-world nuisance too. LED wins on every practical metric that matters for motorcycles. Vibration resistance especially — halogen bulbs hate parallel-twins and V-twins.
Section 1: Headlights — Do Not Just Swap the Bulb
The single biggest mistake riders make during a motorcycle led lighting upgrade is treating it like a household bulb swap. You pull out the halogen, drop in an LED, and expect brilliance. Instead, you often get a scatter pattern that blinds oncoming drivers and lights up your front fender better than the road.
That failure is not because LEDs are inferior. It is because the housing was never designed for them.
Reflector vs. Projector Housings
You need to understand this distinction before buying anything.
A reflector housing bounces light off a curved mirror surface and directs it forward. Manufacturers calibrated that geometry around a halogen bulb — a 360-degree point-source filament sitting at a precise focal point. An LED chip emits light from flat dies, not a spherical filament. So when you put that LED into a reflector housing, you break the optical equation.
Light bounces unpredictably. Hot spots and dark bands appear. Worst of all, stray light blasts upward directly into oncoming traffic.
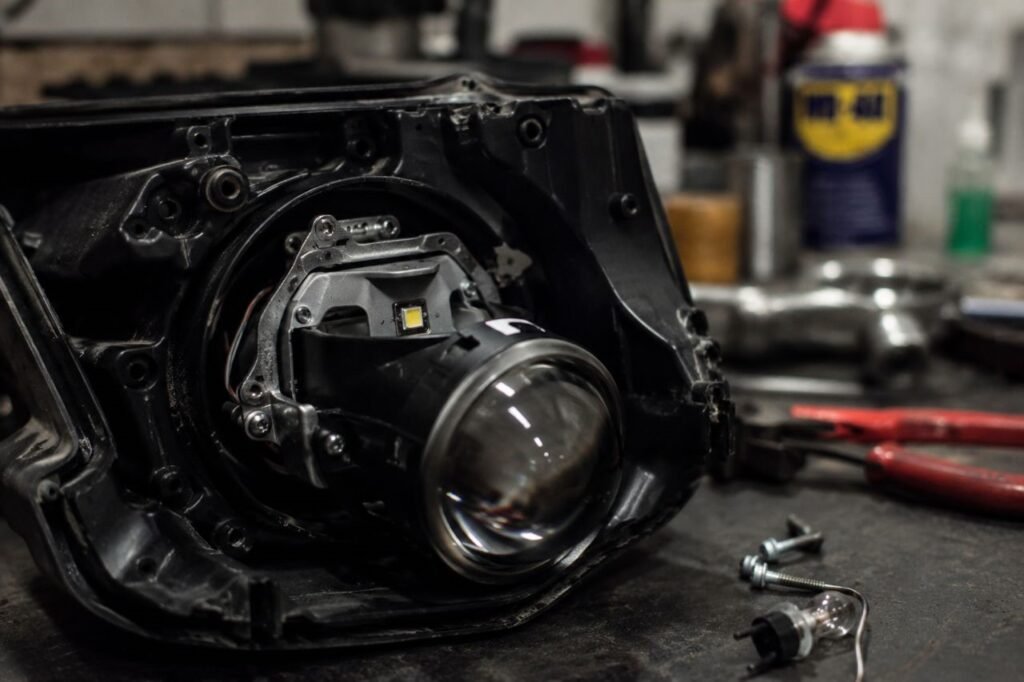
A projector housing works differently. It uses a lens to focus the output. Because the lens itself controls the cutoff line, the design tolerates different light sources much better. If your bike already runs a projector headlight — common on modern nakeds and tourers from the last eight years — you have a far better foundation for a direct LED swap.
The Best Plug and Play Motorcycle LED Headlight
If your bike uses a standard H4, H7, or H11 socket, finding the best plug and play motorcycle led headlight is genuinely achievable without cutting a single wire.
Brands like Hikari, Cougar Motor, and Cyclops Adventure Sports make units with built-in fan cooling and 360-degree adjustable bases. That adjustable base matters more than anything else on the spec sheet. It lets you rotate the LED dies to align with your housing’s focal geometry. Spend five minutes indexing the beam correctly. A sharp, level cutoff line is the difference between a real upgrade and a hazard.
For the cleanest result, a complete pod replacement is the better path. Units from Denali and Motodemic replace the entire assembly. You get a purpose-built optical system designed for LED output from the ground up. They cost more. But the beam quality is categorically superior.
Adaptive LED Motorcycle Headlight Upgrade
The most sophisticated option available right now is the adaptive led motorcycle headlight upgrade.
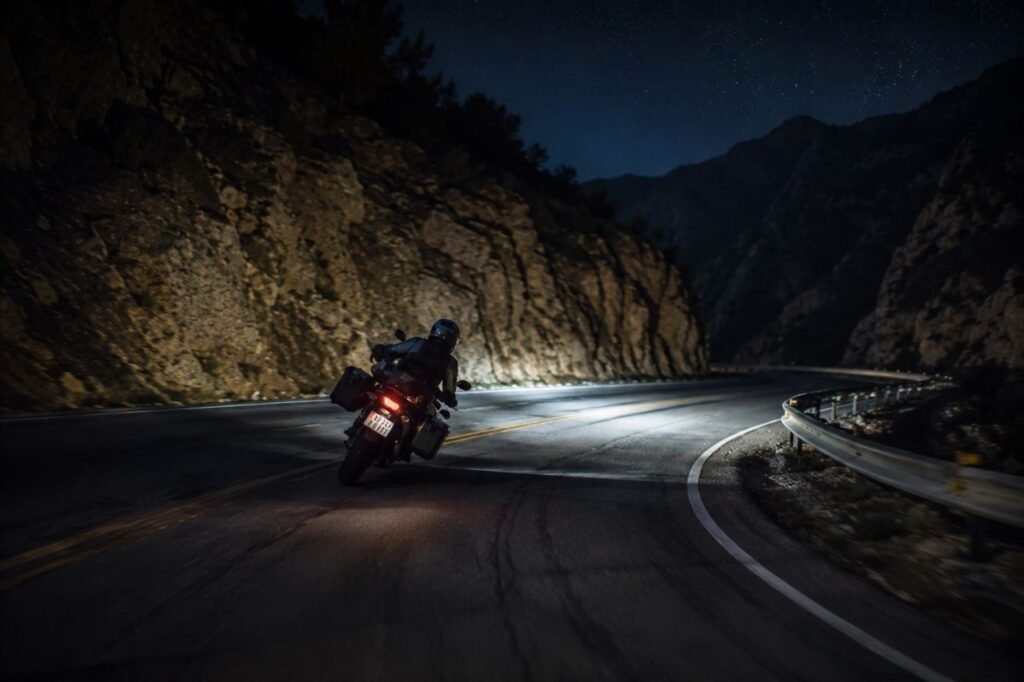
These systems use internal gyroscopes — or accelerometers reading lean angle data from the bike’s IMU — to physically rotate the headlight housing as you corner. You tip into a left-hander and the light pivots left, illuminating the apex that a fixed headlight leaves in total darkness.
That is not a gimmick. On a tight mountain pass after sundown, the difference in visible road surface is immediate and significant. BMW Motorrad has offered adaptive headlights as standard on flagship models for years. Aftermarket units now bring the same technology to bikes that never had it from the factory.
Section 2: Indicators and the Hyperflash Problem
Walk into any bike show and the aesthetic trend is obvious. Smaller. Cleaner. More minimal. Stubby bar-end units. Flush-mounted fender eliminators. Single-piece tail sections. The micro led turn signals motorcycle movement is driven by both style and engineering logic.
A compact LED indicator weighs almost nothing. It generates almost no heat. And it draws a fraction of the current of its bulky halogen predecessor. But that last fact is exactly where things get complicated.
Why Your Indicators Flash Twice as Fast
Here is the electrical physics, laid out plainly.
Your factory flasher relay operates on thermal cycling. A bimetallic strip inside heats up as current flows through it. It bends, breaks the circuit, cools, straightens, and makes contact again. That cycle rate is calibrated around a standard halogen bulb — typically 21 watts per indicator.
An LED signal lamp draws somewhere between 1 and 5 watts. That dramatically lower draw means the relay’s bimetallic strip never gets hot enough to cycle at the correct rate. So it fires faster. Sometimes alarmingly faster. Because the relay interprets the low current as a blown bulb.
That is hyperflash — and it is the most common wiring complaint riders face after a motorcycle led lighting upgrade. The good news is the motorcycle led turn signal hyperflash fix has two clean solutions.
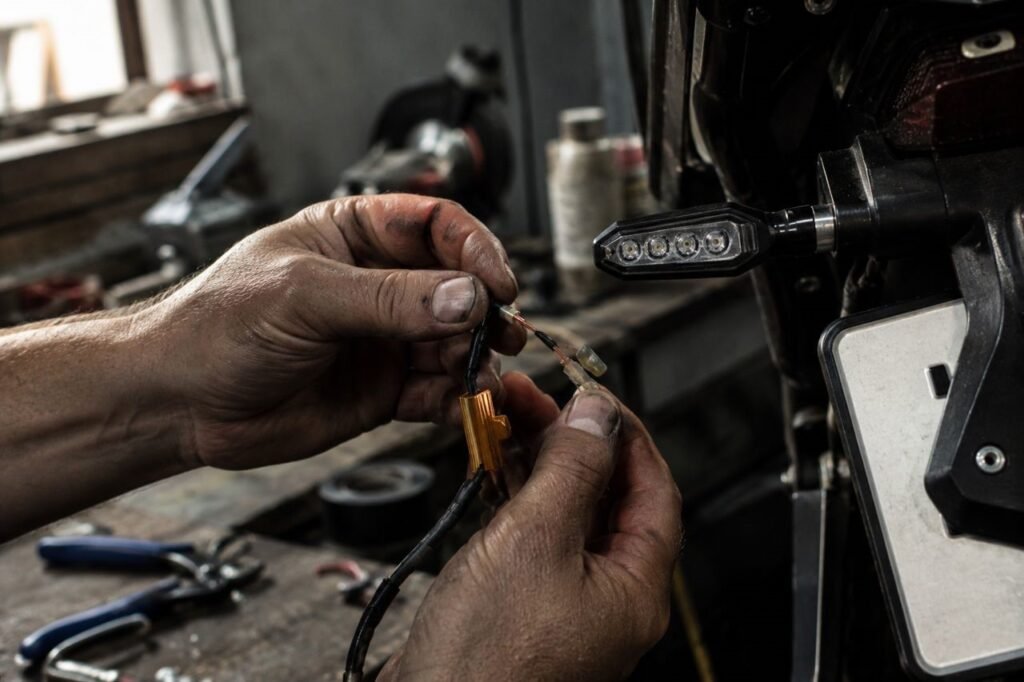
Fix Method 1 — Load Resistors (Parallel Wiring)
- Source resistors matched to your original bulb’s load. Six-ohm, 50-watt units are standard for 12V 21W applications.
- Wire one resistor in parallel across each LED indicator’s positive and negative terminals, directly at the lamp housing.
- Mount them away from plastic bodywork. These resistors get genuinely hot. Zip-tying one against a fairing panel will melt something expensive.
- Test the flash rate. You should see 60 to 90 flashes per minute — matching the factory spec.
This method works and it costs very little. But there is a downside. You are converting electricity back into heat to fool the relay. On a bike with a small alternator, that sustained waste is not ideal for long-term electrical health.
Fix Method 2 — Electronic LED Flasher Relay (Recommended)
- Find your existing flasher relay. Depending on the model, it sits under the seat, inside the headlight nacelle, or behind the instrument cluster.
- Source a direct-fit electronic LED relay for your specific bike, or a universal two-pin or three-pin unit that matches your socket.
- Swap the relay and test immediately.
- If the flash rate is still uneven, check that all your indicators draw similar loads. Mixing old halogens and new LEDs on the same circuit causes inconsistency regardless of the relay type.
The electronic relay is the correct long-term answer. It draws no wasted current. It needs no resistors near hot surfaces. And it produces a clean, consistent flash rate. Take the extra ten minutes and do it right the first time.
Watch out: Mixing LED fronts with stock halogen rears on the same circuit almost guarantees uneven flash rates — even after fitting an electronic relay. Upgrade all four corners at once.
Section 3: Rear Lighting — One Unit, Three Functions
Stock tail assemblies are often bulky and visually heavy. They use separate housings for the tail light, brake light, and indicators. A complete motorcycle led lighting upgrade does not stop at the front — and the rear is where most riders leave the biggest visual and safety gains on the table.
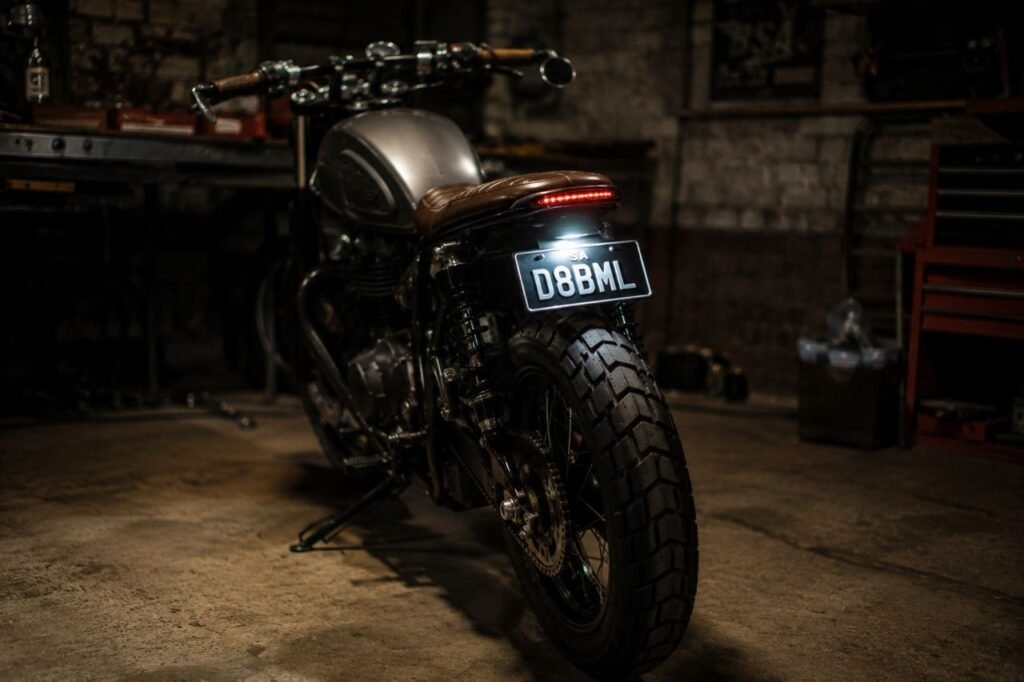
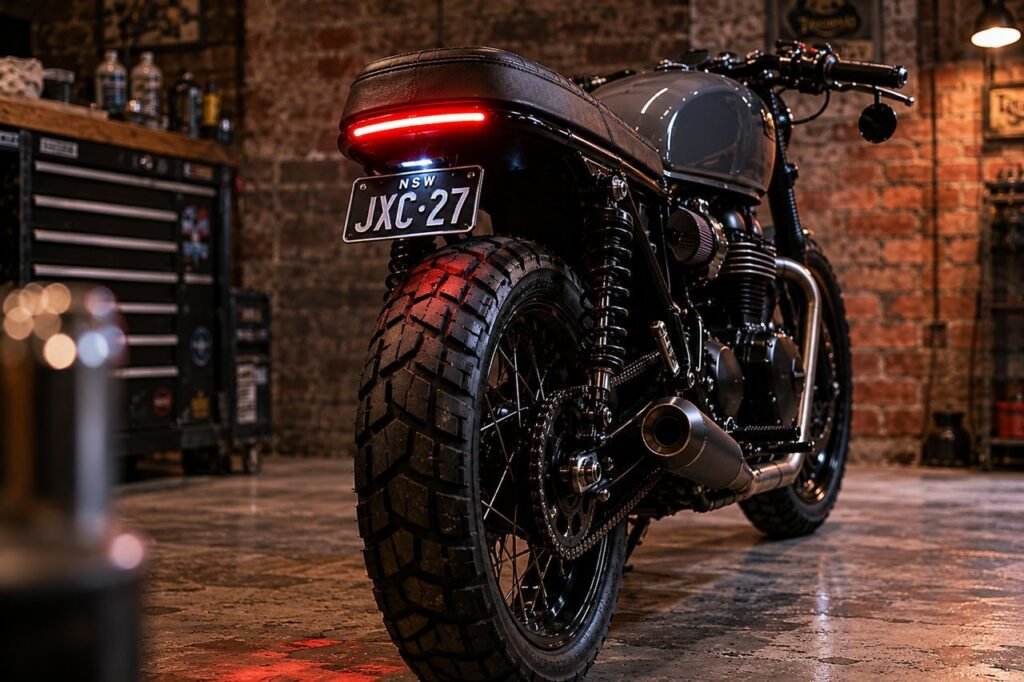
An integrated motorcycle tail light kit puts all three functions into a single lens. That change makes an enormous aesthetic difference. Especially on stripped-back nakeds, scramblers, and trackers where every gram of visual weight at the rear matters.
What to Look For in an Integrated Tail Light Kit
A quality unit uses different LED zones or brightness levels to separate three distinct states. Dim and steady for running. Full brightness for braking. Flashing amber or red for indicating — depending on your regional regulations.
Most kits include a harness adapter sized for common connector types. Installation on most bikes takes under an hour.
The feature worth paying extra for is a strobe-on-braking module. When you first apply the brake, the tail light strobes rapidly for two to three seconds before settling into steady full brightness. Research consistently shows that strobe pattern increases reaction time in following drivers. On a bike where your only rear protection is other people noticing you sooner, that is not a trivial benefit.
Look specifically for these features when comparing kits:
- Sequential indicators that sweep outward — highly visible in peripheral vision
- A minimum 3:1 brightness ratio between run and brake light states
- A built-in licence plate bracket and light so you can remove the factory tail unit entirely
- Smoked lenses for daylight aesthetics, or clear lenses for maximum night-time brightness
Section 4: Wiring — The Part Most Riders Get Wrong
This is where DIY lighting upgrades succeed professionally or fail dangerously. Good lighting is only as reliable as the wiring behind it. Wiring errors in a motorcycle’s electrical system do not just cause flickering. They cause fires, fried ECUs, and complete electrical failures in the middle of nowhere.
Take this section seriously.
How to Wire Motorcycle LED Lights with a Relay
Understanding how to wire motorcycle led lights with relay circuits is fundamental to any accessory lighting job. The core principle is simple. You never want high-current loads running through factory switch gear built for minimal current.
Your handlebar switches, your headlight switch, your accessory fuse block — these components have specific current ratings. Exceeding them through cumulative accessory load degrades contacts, generates heat, and eventually causes failures that are genuinely hard to diagnose.
So you use a relay. It acts as an electrically controlled switch. Your factory switch provides a low-current trigger signal. The relay uses that signal to close a separate high-current circuit running directly from the battery through its own fuse. Your LED load runs on the relay’s circuit — not through your factory switchgear. That is the protection you are building in.
Standard relay wiring for motorcycle accessory LEDs:
- Run a fused positive wire from the battery positive terminal to relay terminal 30. Fuse it within six inches of the battery — use a blade fuse holder rated 10 to 15 amps for a comprehensive lighting setup.
- Connect relay terminal 87 to your LED positive feed wire.
- Connect relay terminal 85 to your trigger source — the switched positive from your factory headlight circuit or accessory switch.
- Connect relay terminal 86 to a solid chassis ground. Find bare metal, not painted surface. Use a star washer to guarantee metal-to-metal contact.
- Ground your LED negative leads to the same chassis ground point. Shared grounds reduce noise and voltage irregularities across the whole circuit.
Relay kits cost very little. The installation time is modest relative to the protection they give you.
Motorcycle CANbus Wiring and Lighting Issues
Modern motorcycles from brands like BMW, Ducati, KTM, Triumph, and Aprilia use CANbus systems that monitor lighting circuit resistance to detect faults. This is one of the most overlooked challenges of any motorcycle led lighting upgrade — and it catches riders off guard every single time.
Here is the problem. A halogen bulb presents a specific resistance at operating temperature. An LED presents dramatically lower resistance — sometimes approaching zero ohms at rest. The CANbus system reads that unexpected value, flags it as a fault, and throws a warning light on your dash. On some models, it locks the flasher into a permanent fault state and stops indicator operation entirely.
The fix is straightforward if you use the right parts.
CANbus-compatible LED bulbs are purpose-built with internal resistor networks that mimic halogen resistance profiles. Confirm the unit is rated for your specific bike’s monitoring voltage range before buying. Do not assume that any LED bulb marketed as CANbus-ready will work across all platforms — voltage thresholds vary between manufacturers.
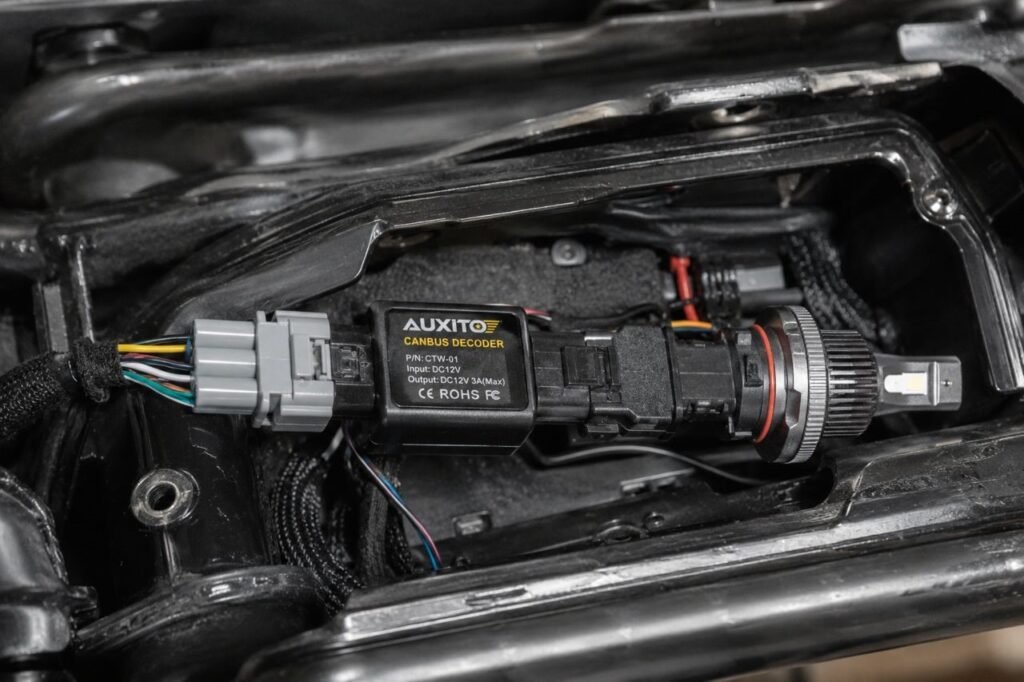
CANbus decoders — also called error suppressors — are small inline modules that install between the factory socket and the LED. They present the correct resistance to the monitoring circuit while passing full voltage to the LED. Osram and Philips both produce reliable units that cover the majority of European bike platforms.
Inline resistors add resistance to bring the circuit into the acceptable monitoring range. Less elegant than a dedicated decoder, but effective when correctly matched to your bike’s specific fault threshold.
Troubleshooting FAQ
Q: Why does my fuse blow after installing LED lights?
A direct short is usually the cause — typically a positive wire touching ground. Check grounding points, relay wiring, and exposed connections. Miswiring relay terminals 30 and 86 can create an instant short. Inspect the circuit carefully before replacing the fuse, and never install a larger fuse to hide the problem.
Q: Are integrated tail lights legal everywhere?
No. Many regions, including the US, EU, UK, and Australia, require amber turn signals. Some integrated kits use red LEDs for brake and indicators, which can fail inspections. Always confirm the light is compliant with your local regulations before buying.
Q: Should I disconnect the battery before wiring work?
Yes. Disconnecting the battery prevents shorts, ECU faults, and possible damage to electronic systems, especially on CANbus-equipped bikes. Remove the negative terminal first and reconnect it last.
Q: My LED headlight is bright but the beam pattern looks uneven. Why?
The bulb alignment is likely incorrect. Many LED bulbs have adjustable bases to fine-tune the beam angle. Aim the headlight at a wall and rotate the bulb until you get a clean cutoff with minimal glare. If the pattern still looks poor, the reflector housing may not suit LEDs.
Q: Why do my indicators hyperflash at idle only?
Low charging voltage at idle can confuse some LED relays. Use a relay rated for a wider voltage range, or inspect the charging system for a weak stator or faulty regulator/rectifier.
Closing: Do the Work Once, Ride Better Every Night After
A proper motorcycle led lighting upgrade delivers one of the highest returns on investment available to any rider. Spend a weekend in the garage — solve the hyperflash, wire the relay correctly, fit the CANbus decoder if your bike needs it. Then hit the road after dark. The difference is immediate. The road ahead is genuinely, meaningfully illuminated, other drivers see your signals sooner, and your tail light strobes on every brake application.
Other drivers see your signals sooner. Your tail light strobes on initial braking. The transformation is immediate. And the safety margin is real.
So do the work once. Do it right. Because every kilometre after dark is a better one when your lighting system is actually built for the road you are riding.